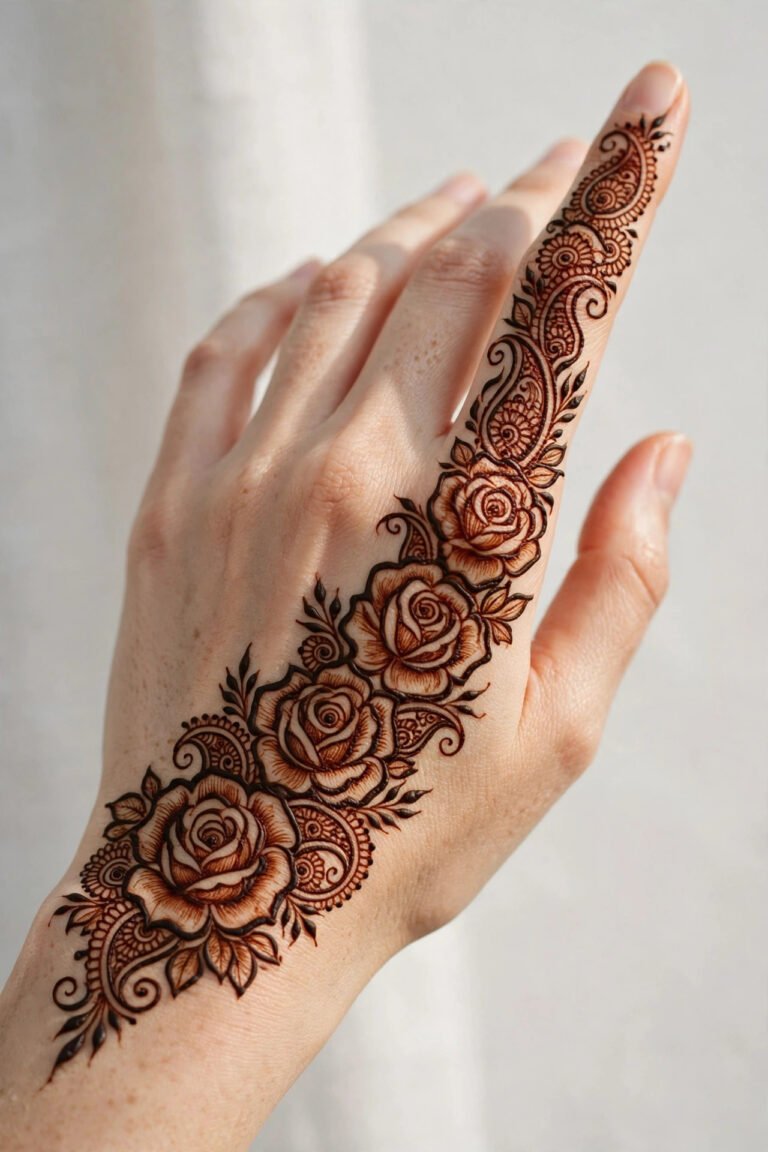
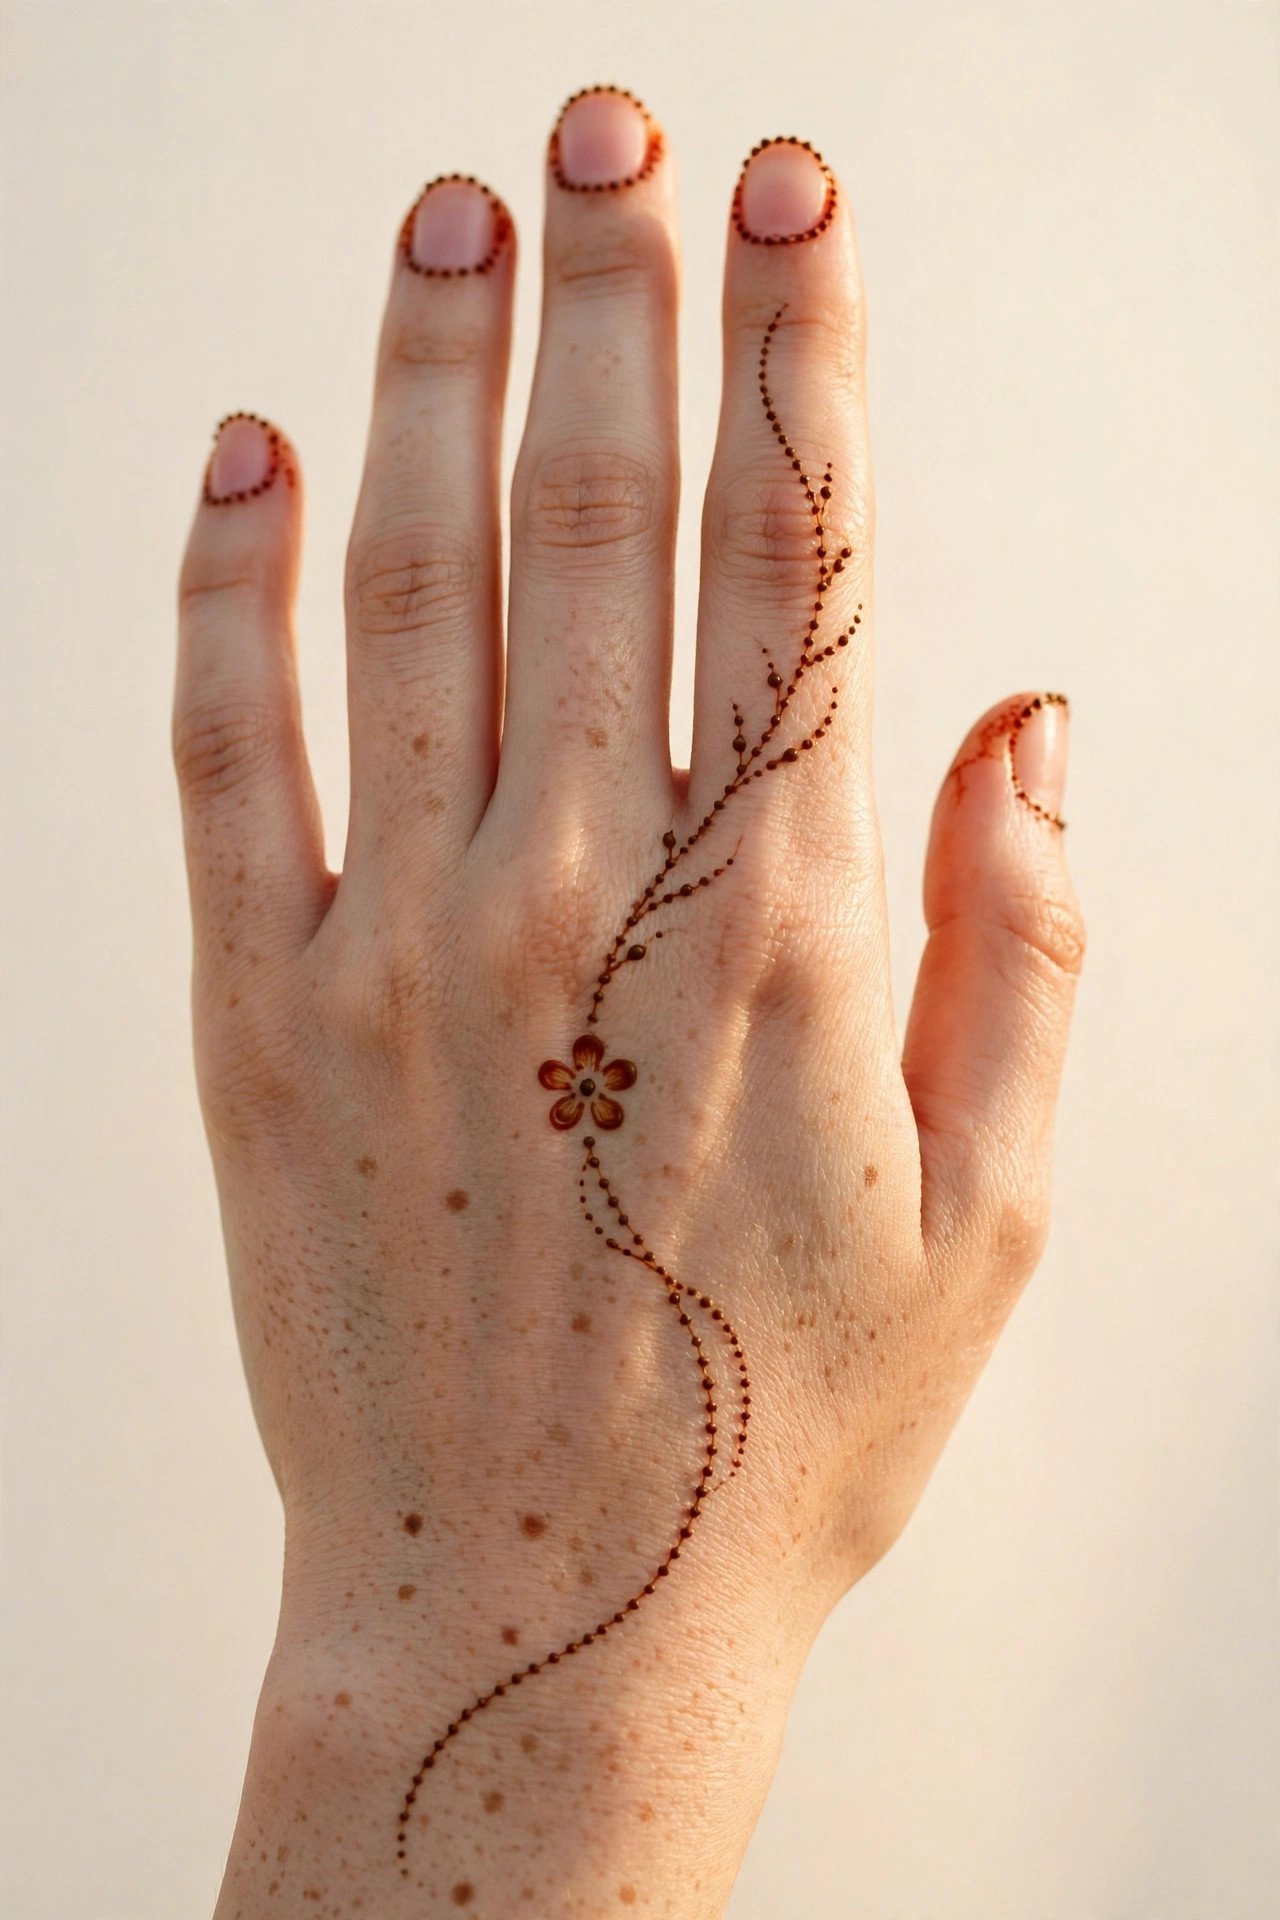
Mehndi looks much harder than it is. The secret every beginner discovers on the first try is that a few simple marks, repeated neatly, look far more polished than a complicated pattern attempted in a hurry. You do not need a steady artist’s hand or years of practice — you need a fresh cone, a simple plan, and designs that forgive a wobble. The fourteen ideas below are built exactly that way: dots, tiny flowers, short vines and bands that anyone can draw in about ten minutes.
Each design works on its own for an everyday look, and they all combine beautifully if you want something a little fuller for a celebration or a night out. Start with the easiest one, let the stain develop for a few hours, and keep your hand still while it dries — that patience matters more than perfection. Here are fourteen easy mehndi designs for beginners, each one a ten-minute look that genuinely works.
1. Dots-Only Vine Trail
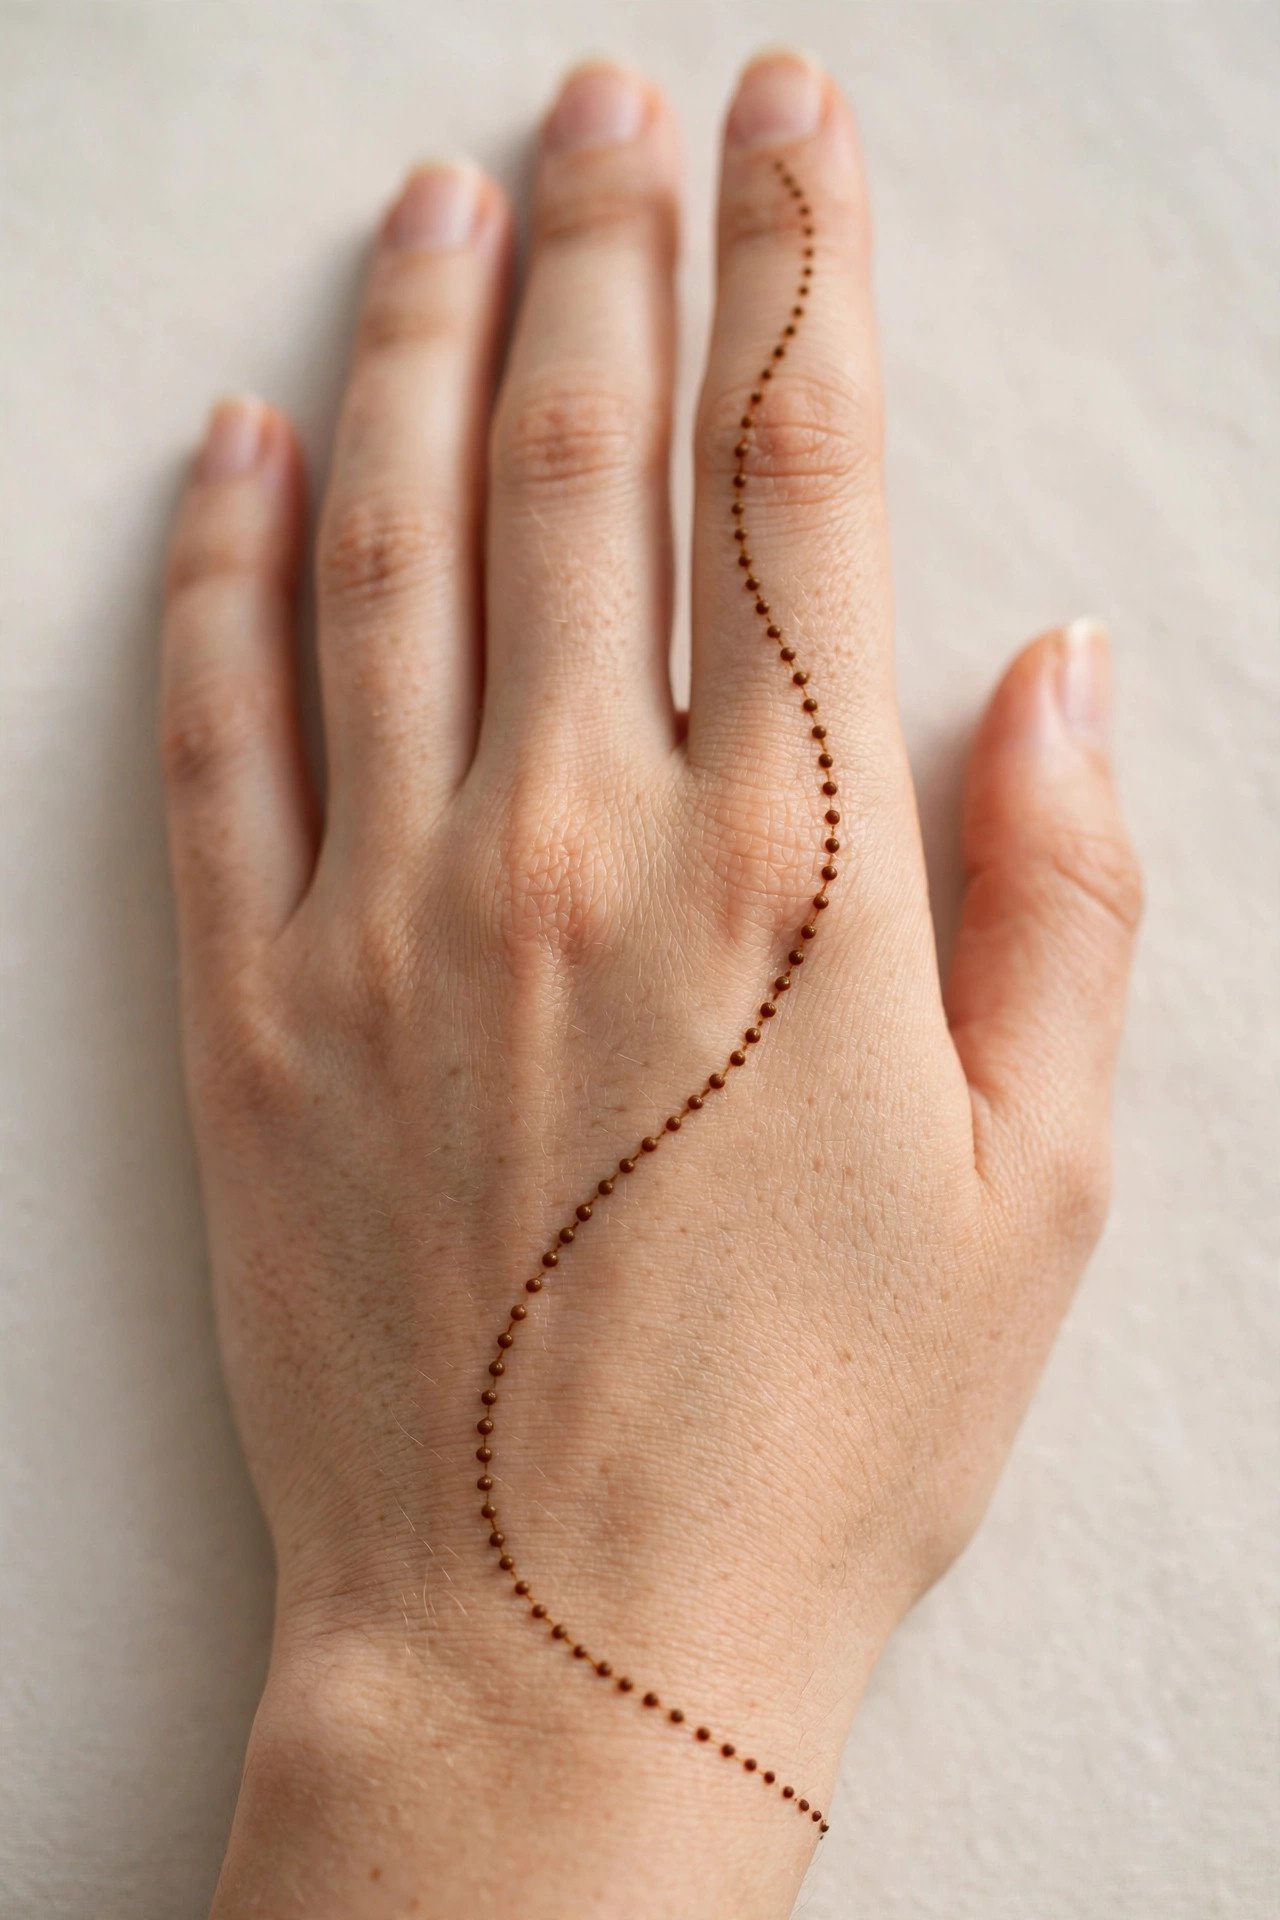
This is the most forgiving design in the whole list, because a trail of dots never has to be perfectly even to look intentional. Place a gentle curve of small, evenly spaced dots from the wrist up toward the index finger, letting the dots get slightly smaller as the trail rises. It takes about five minutes, suits every hand shape, and looks elegant with a watch or a stack of thin bangles. If a dot lands off-line, simply add another beside it — the trail just looks fuller.
2. One Flower, Two Vines
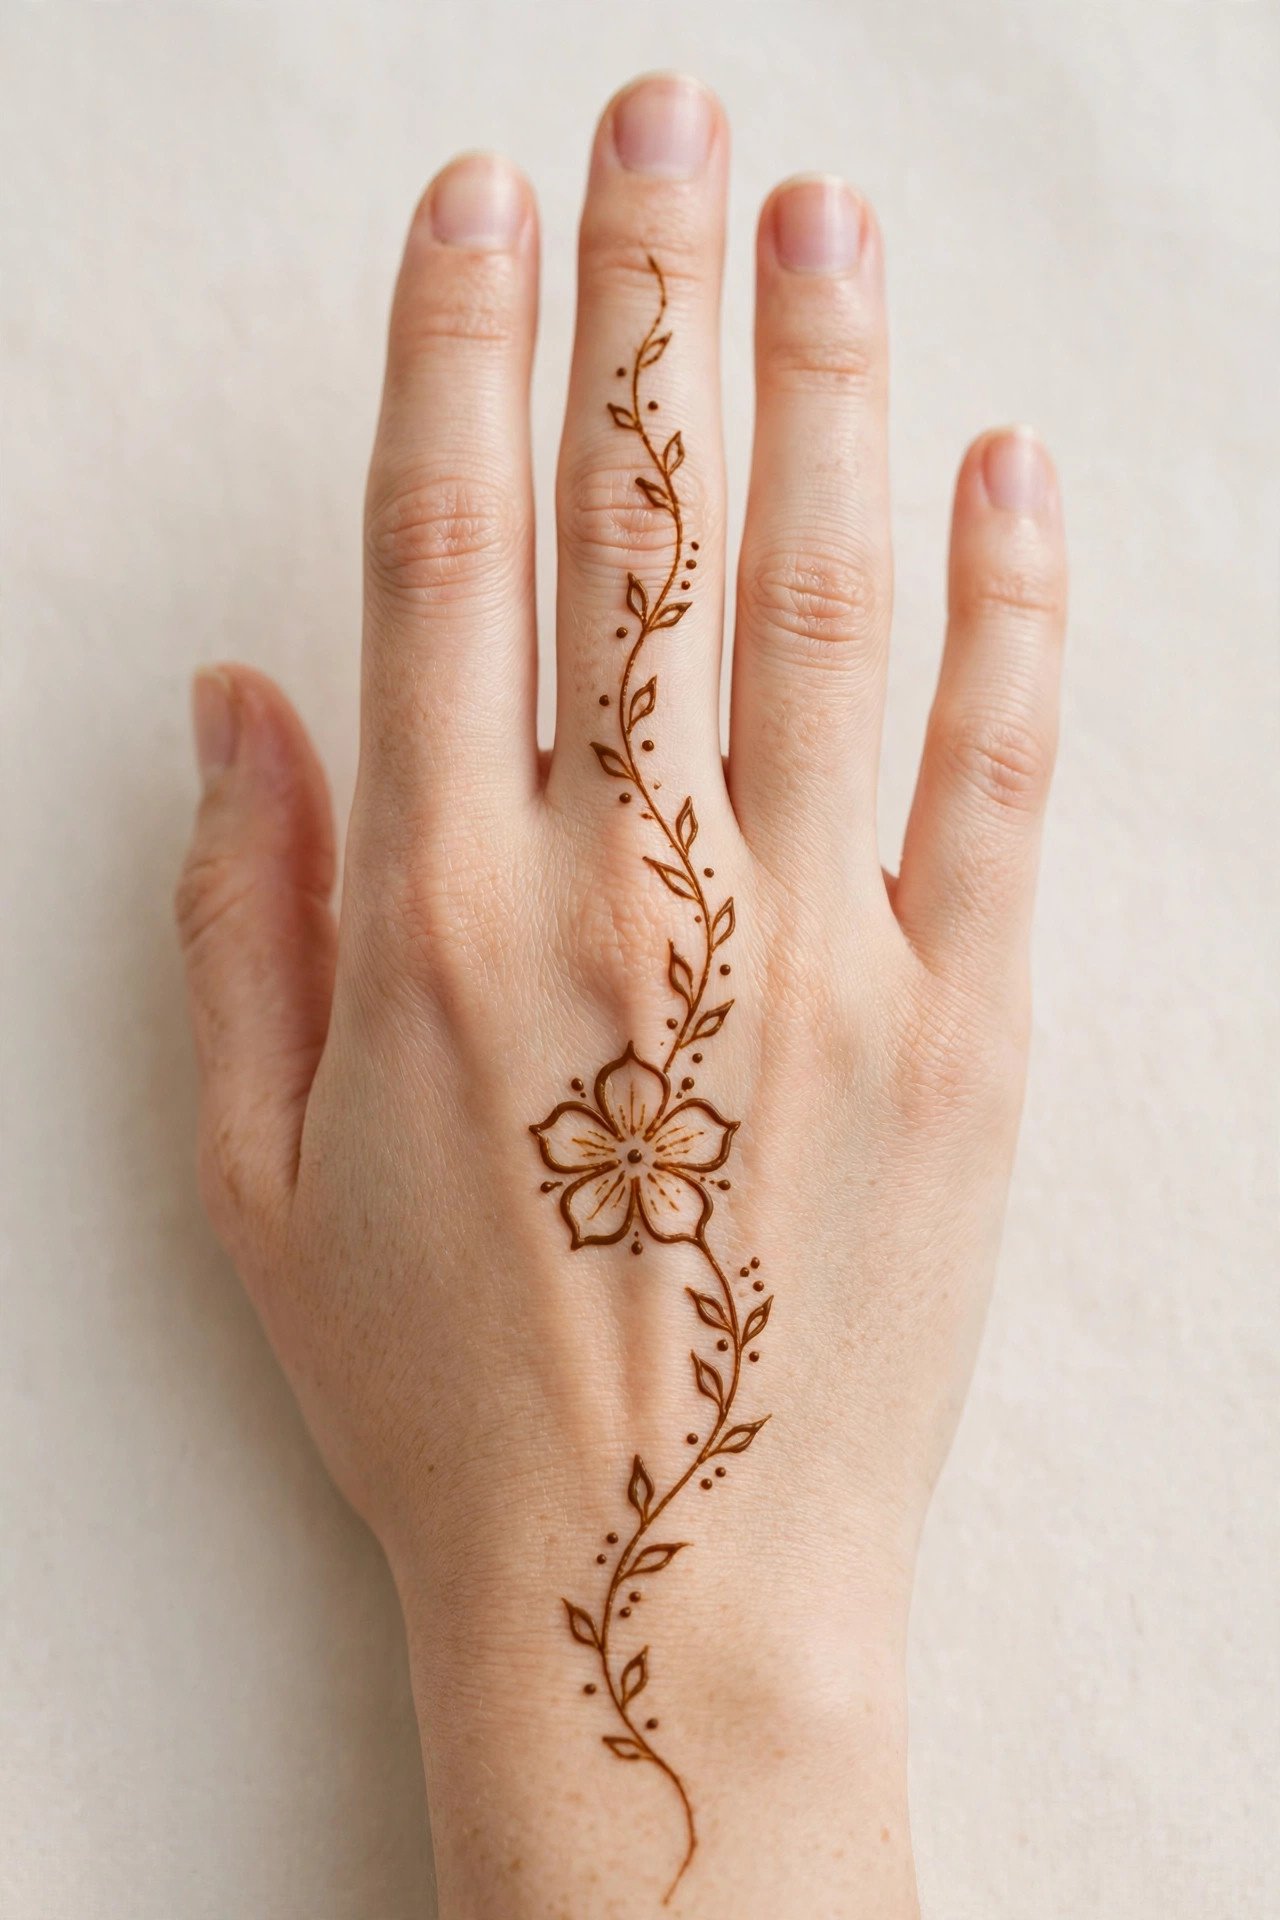
The classic beginner cheat: draw one simple five-petal flower in the centre of the back of the hand, then let two thin vines trail away from it, one toward the wrist and one toward a finger. The flower does all the visual work, so the vines can stay plain and simple. This takes around eight minutes and photographs beautifully because the eye lands straight on the flower. Pair it with a plain ring and a nude manicure so nothing competes with the design.
3. Simple Finger Caps
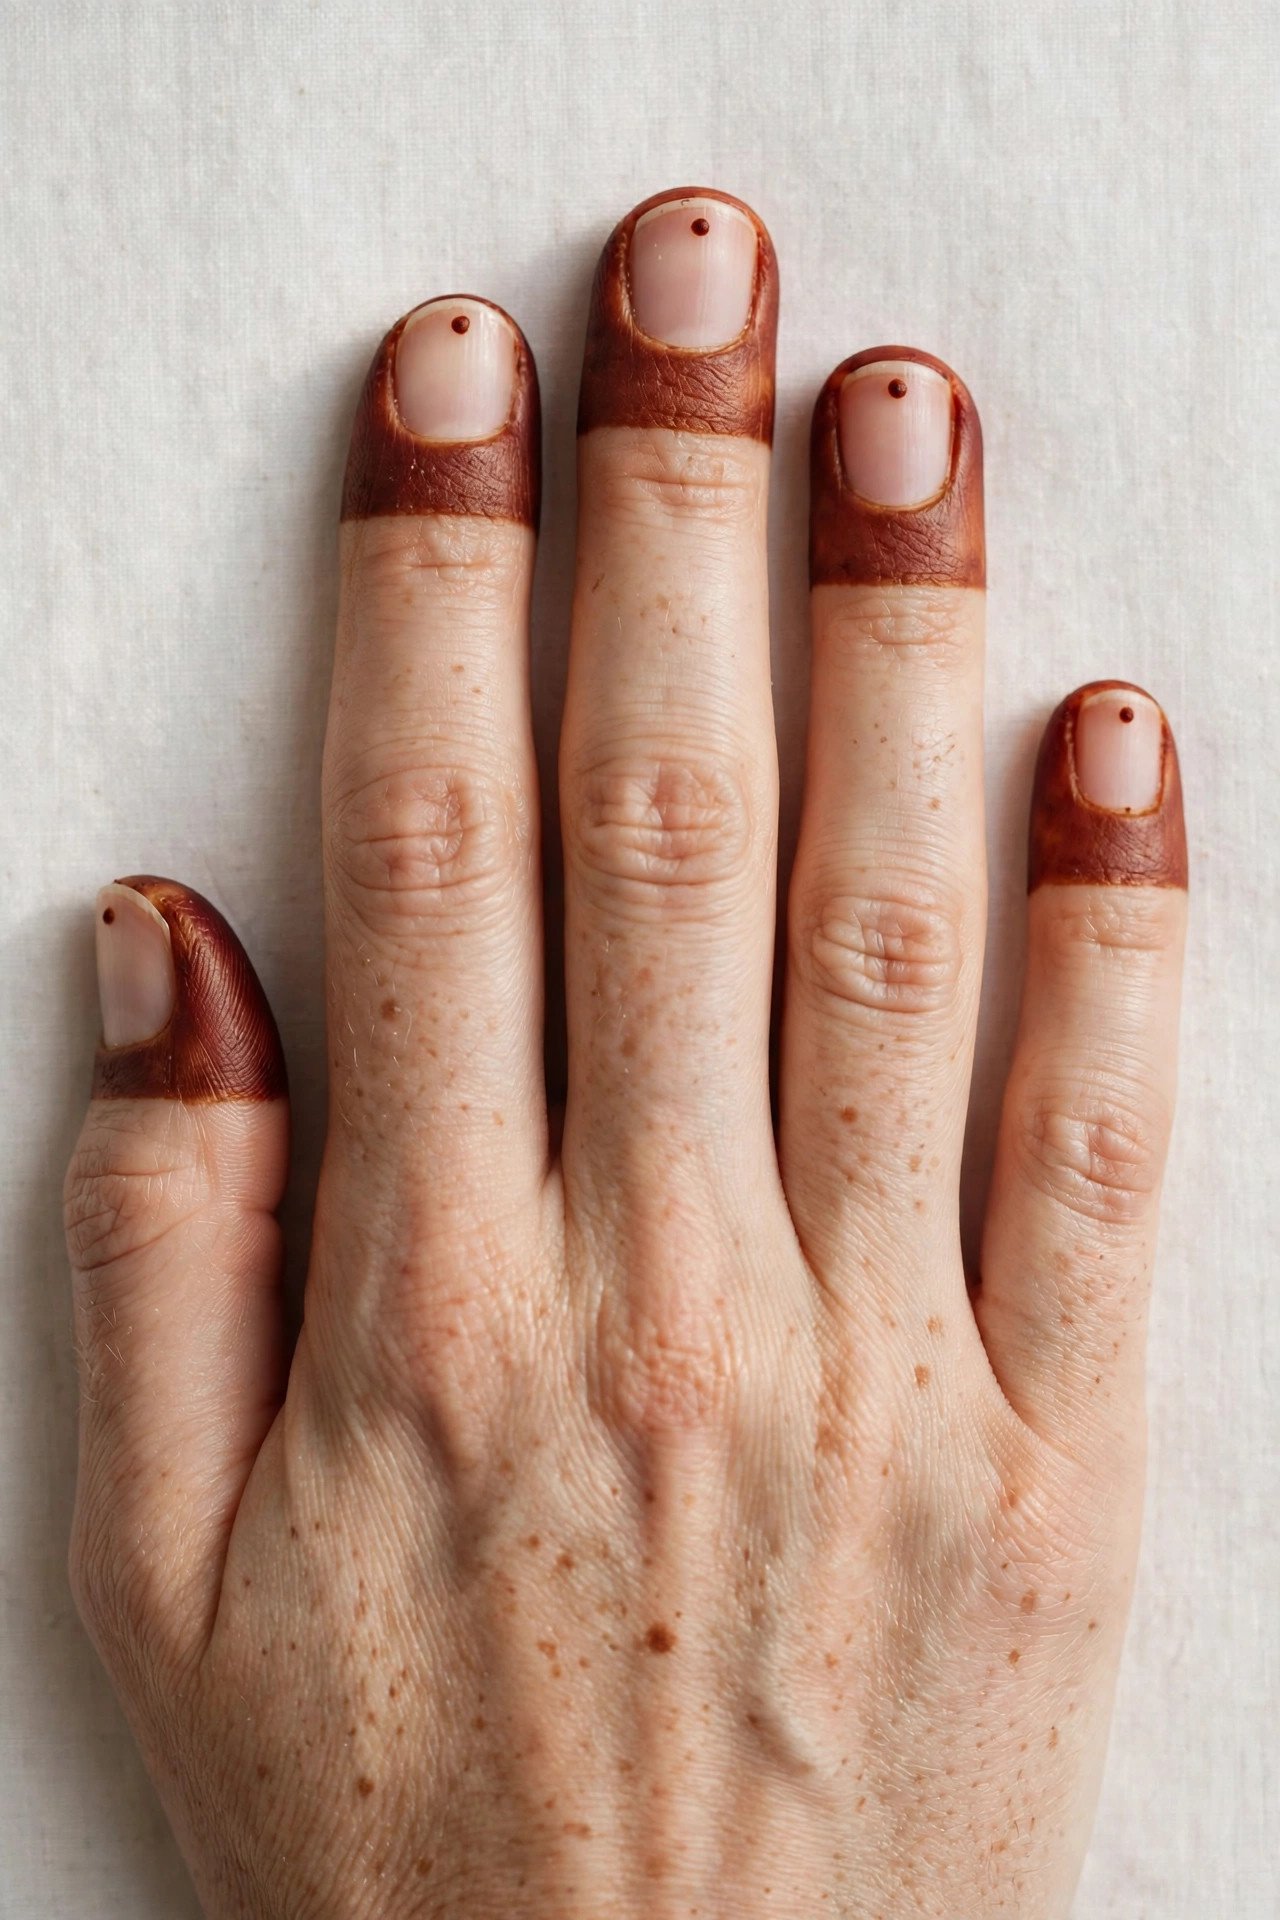
Finger caps are the fastest route to a finished look: colour just the fingertips, add one tiny dot on each, and leave the rest of the hand bare. The whole set takes under ten minutes, including drying time between fingers, and it looks surprisingly dressed-up, especially with short, neat nails. This is the ideal first design for anyone nervous about drawing on the back of the hand, and it pairs perfectly with rings since the decorated area sits above them.
4. Wrist Bracelet Band
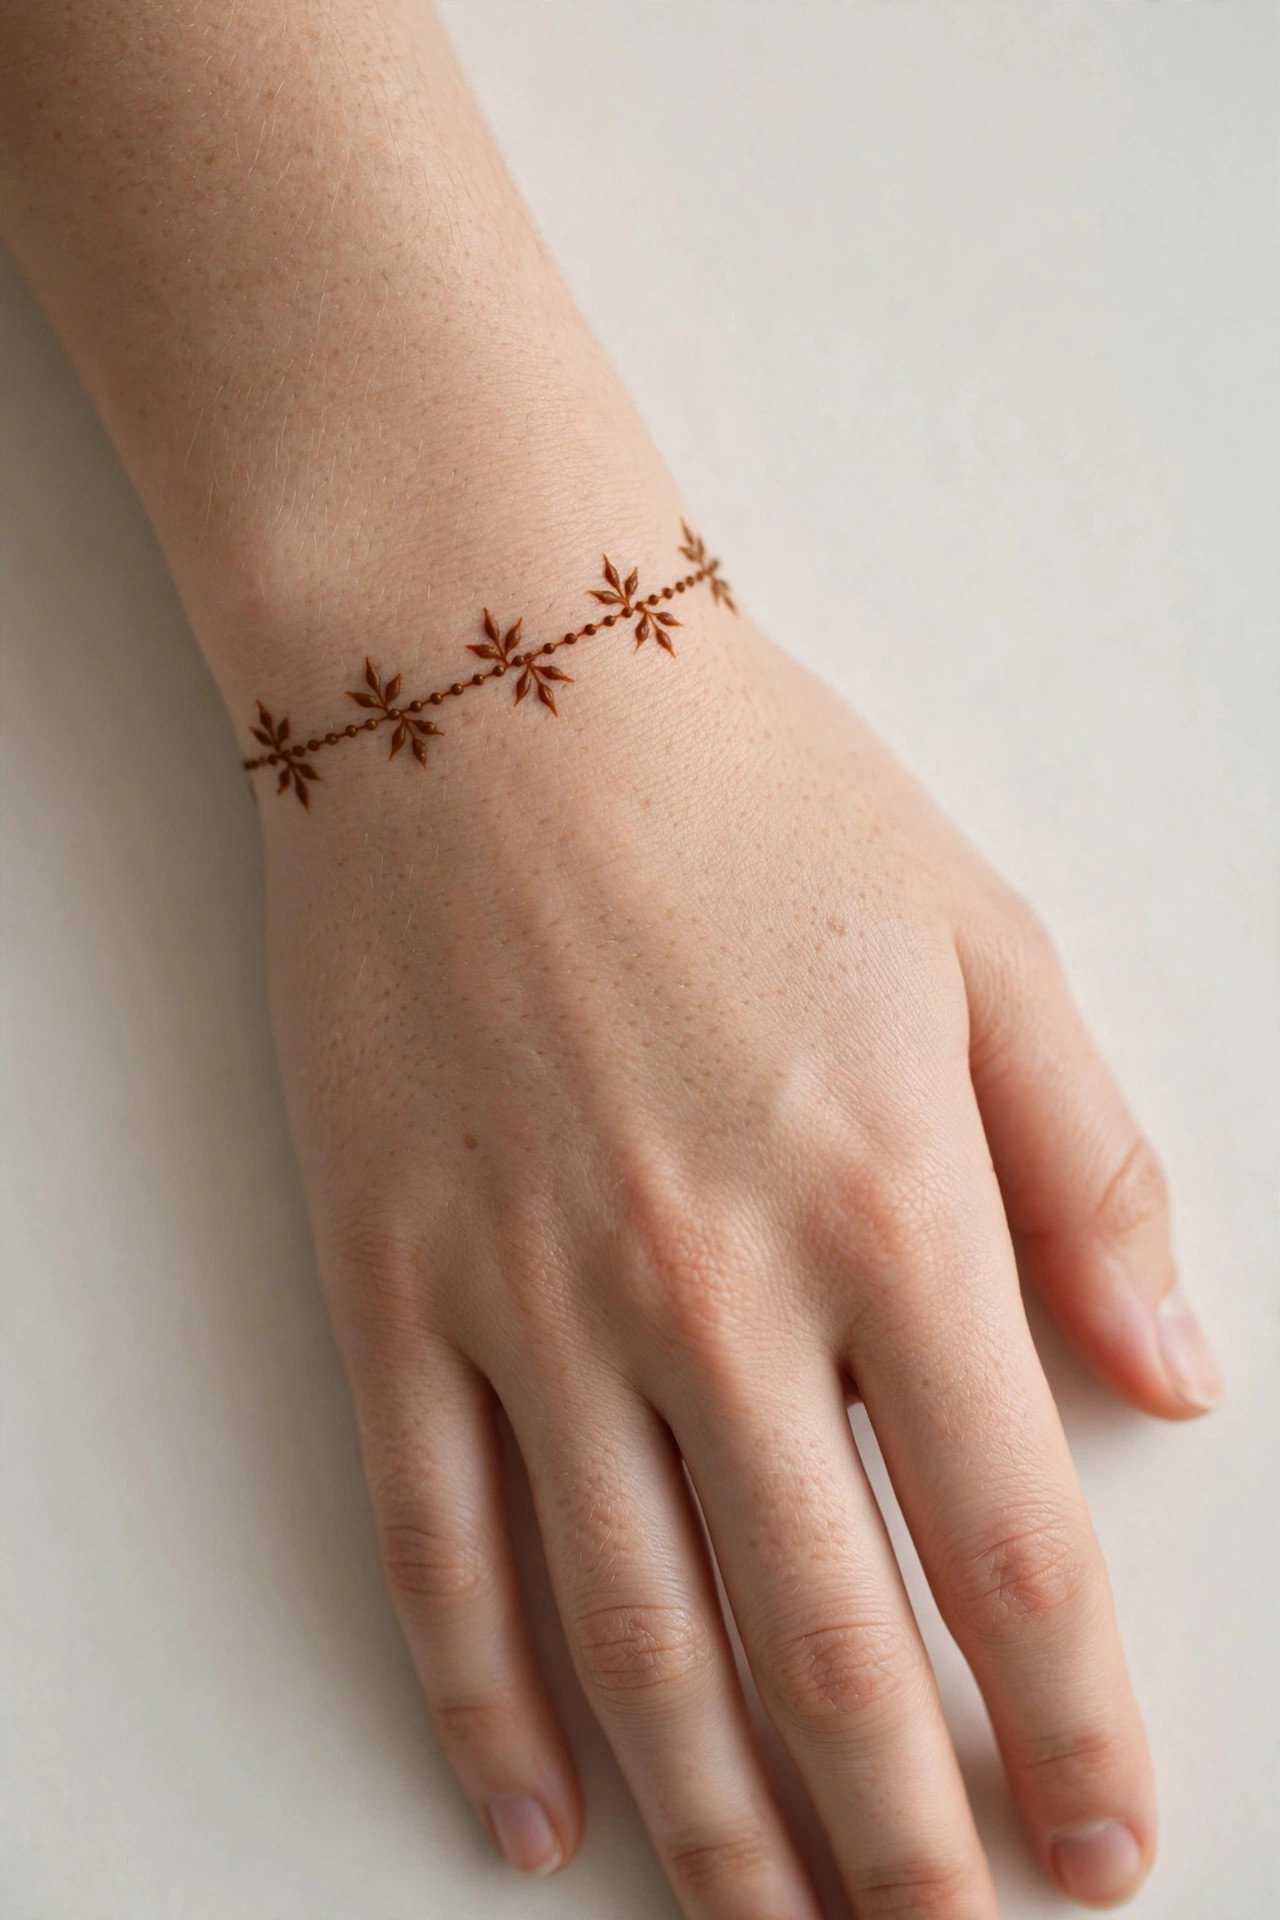
A single band around the wrist reads like jewellery and takes barely five minutes. Draw one thin line circling the wrist, then add a row of small dots and tiny leaves along it, keeping the spacing relaxed rather than rigid. The rest of the hand stays bare, which makes this a great everyday option for work or college. It also layers well: wear a real bracelet just above or below the henna band and the two look deliberately matched.
5. Micro-Mandala Centre
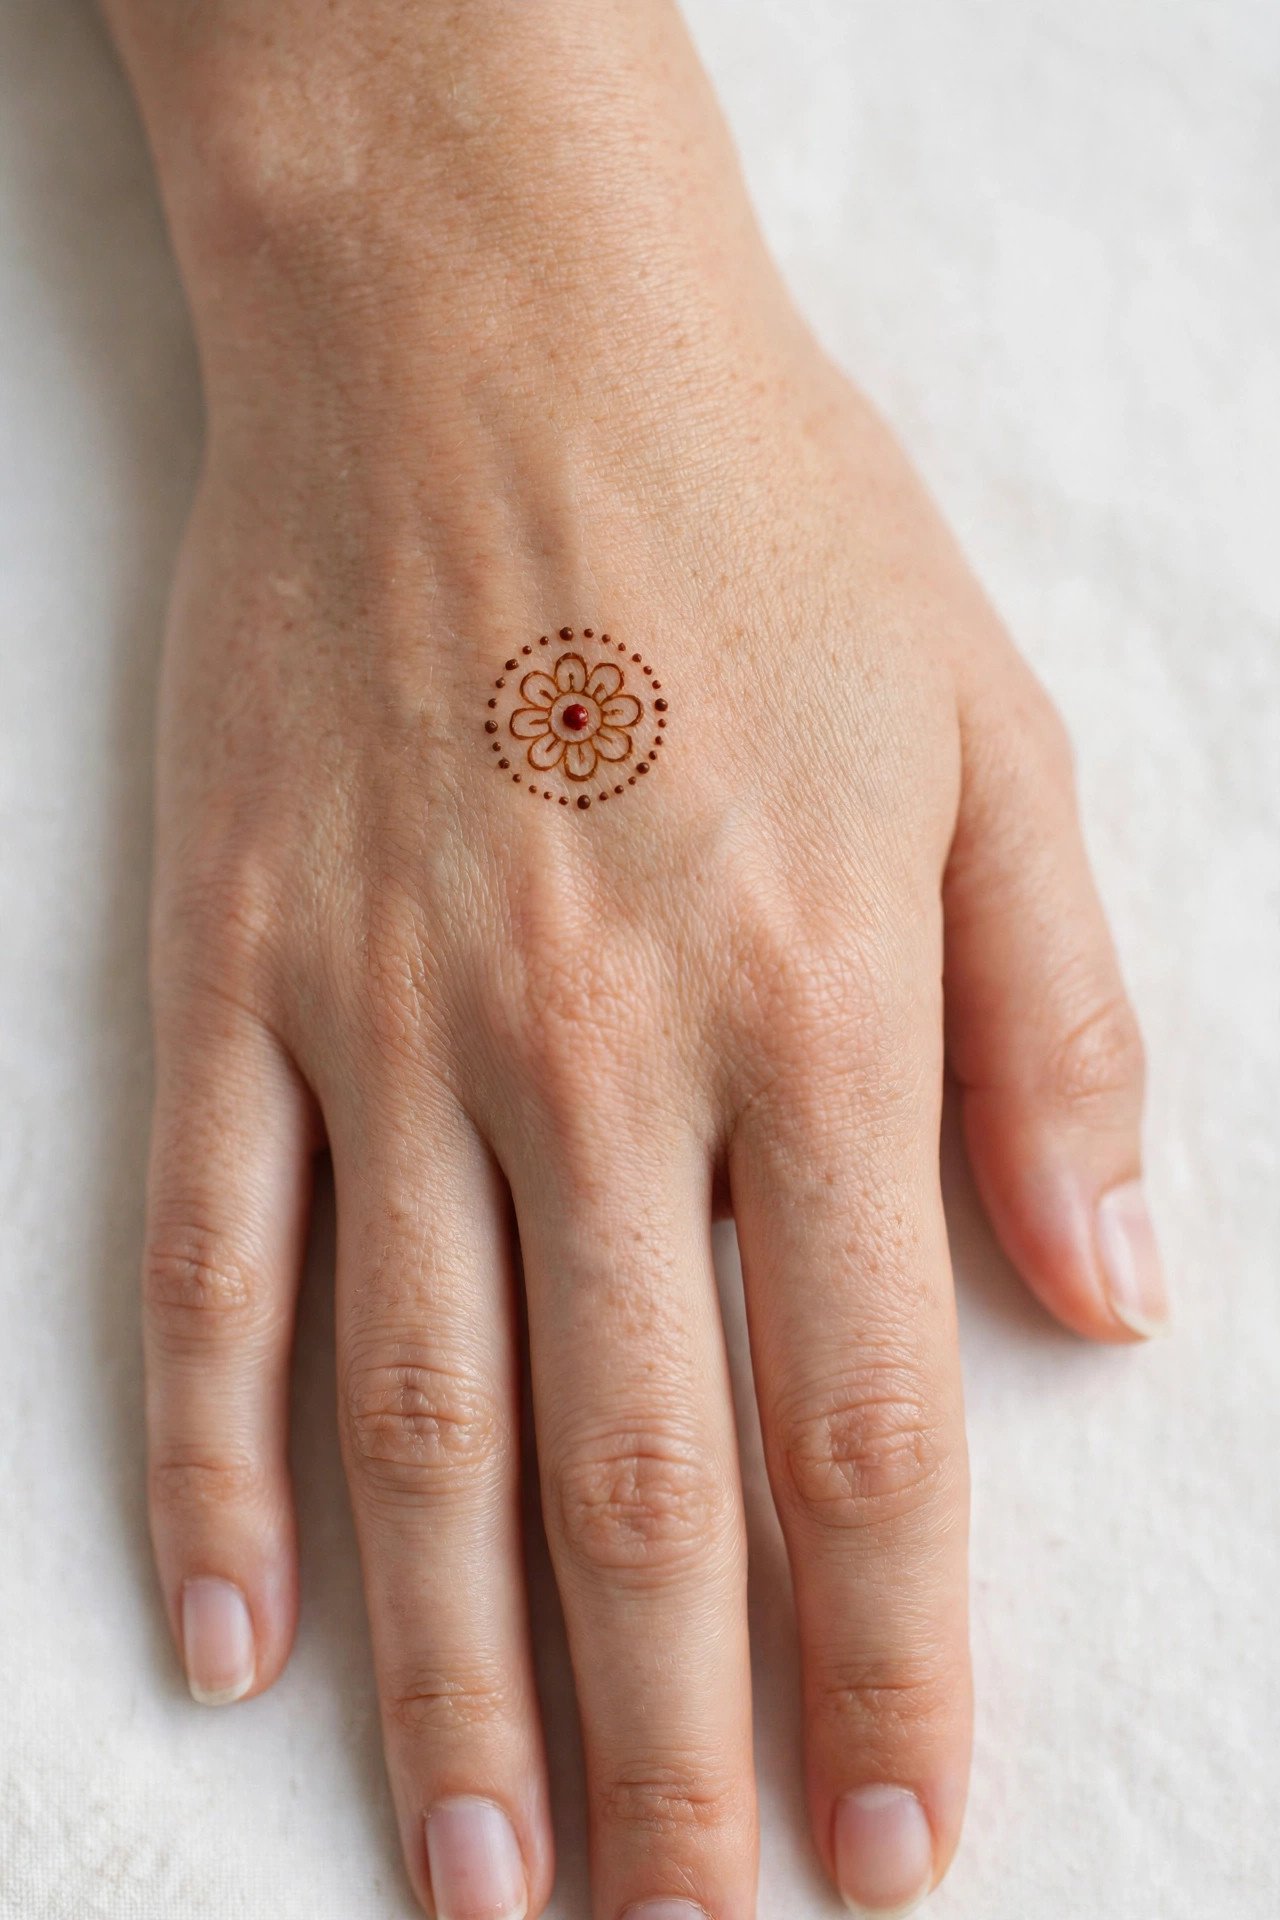
A mandala sounds advanced, but a micro version is just a dot, six to eight petals around it, and a ring of tiny dots — nothing more. Centred on the back of the hand, it gives a complete, finished look in about ten minutes with no other drawing needed. Keep the petals small and round rather than pointed, and the design stays soft and neat even if one petal is slightly larger than the rest. This is the one to choose when you want a single statement motif.
6. Finger-Focused Vine
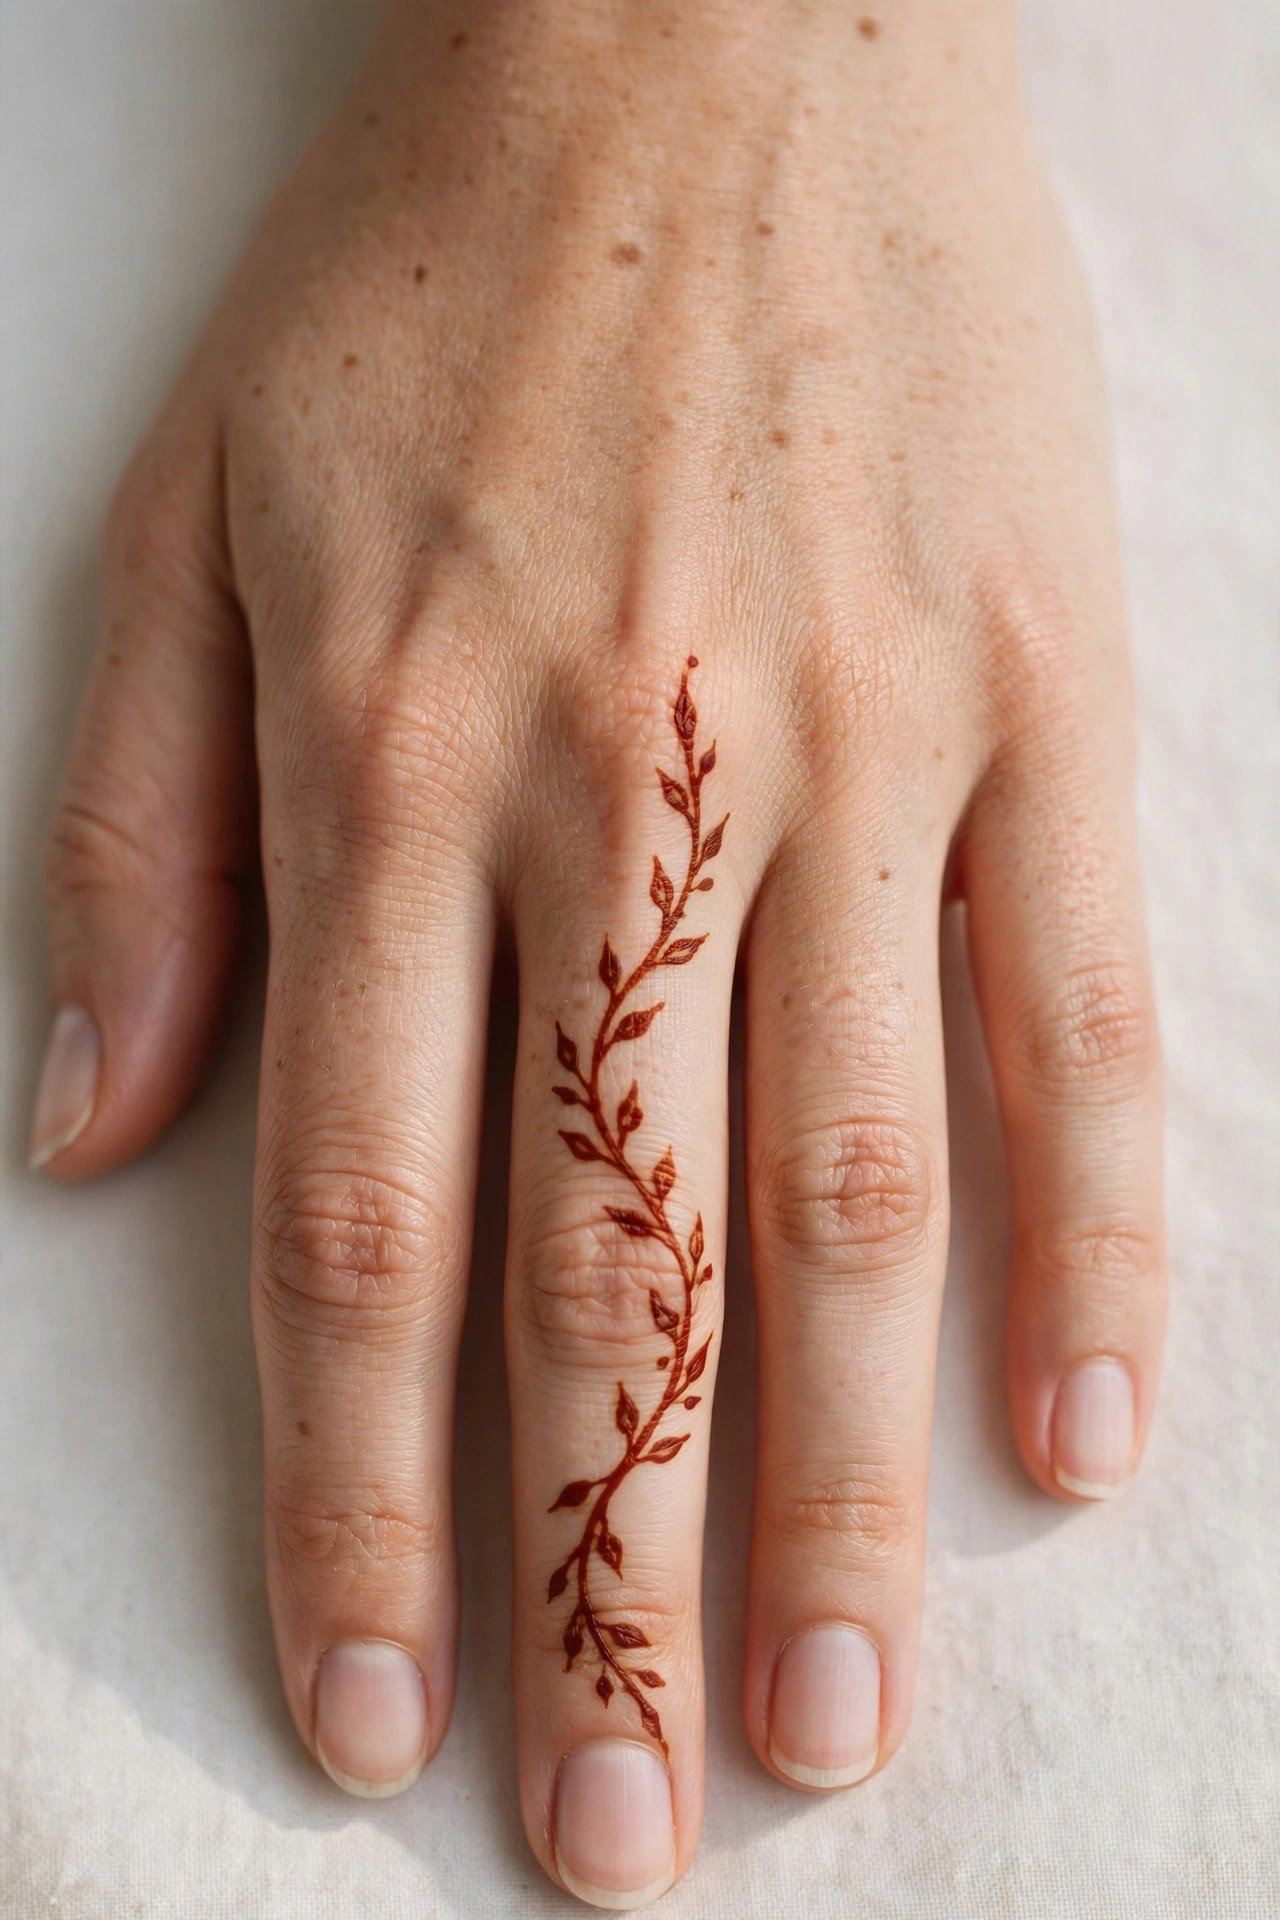
Instead of decorating the whole hand, put all the detail on one finger: a thin vine winding from base to tip with small leaves alternating along it. It takes about seven minutes, it is easy to draw because the finger itself guides the line, and the bare hand around it makes the vine stand out. Choose the middle or ring finger for the most balanced look, and keep the other nails polished in a matching shade for a pulled-together finish.
7. Dot-and-Petal Border
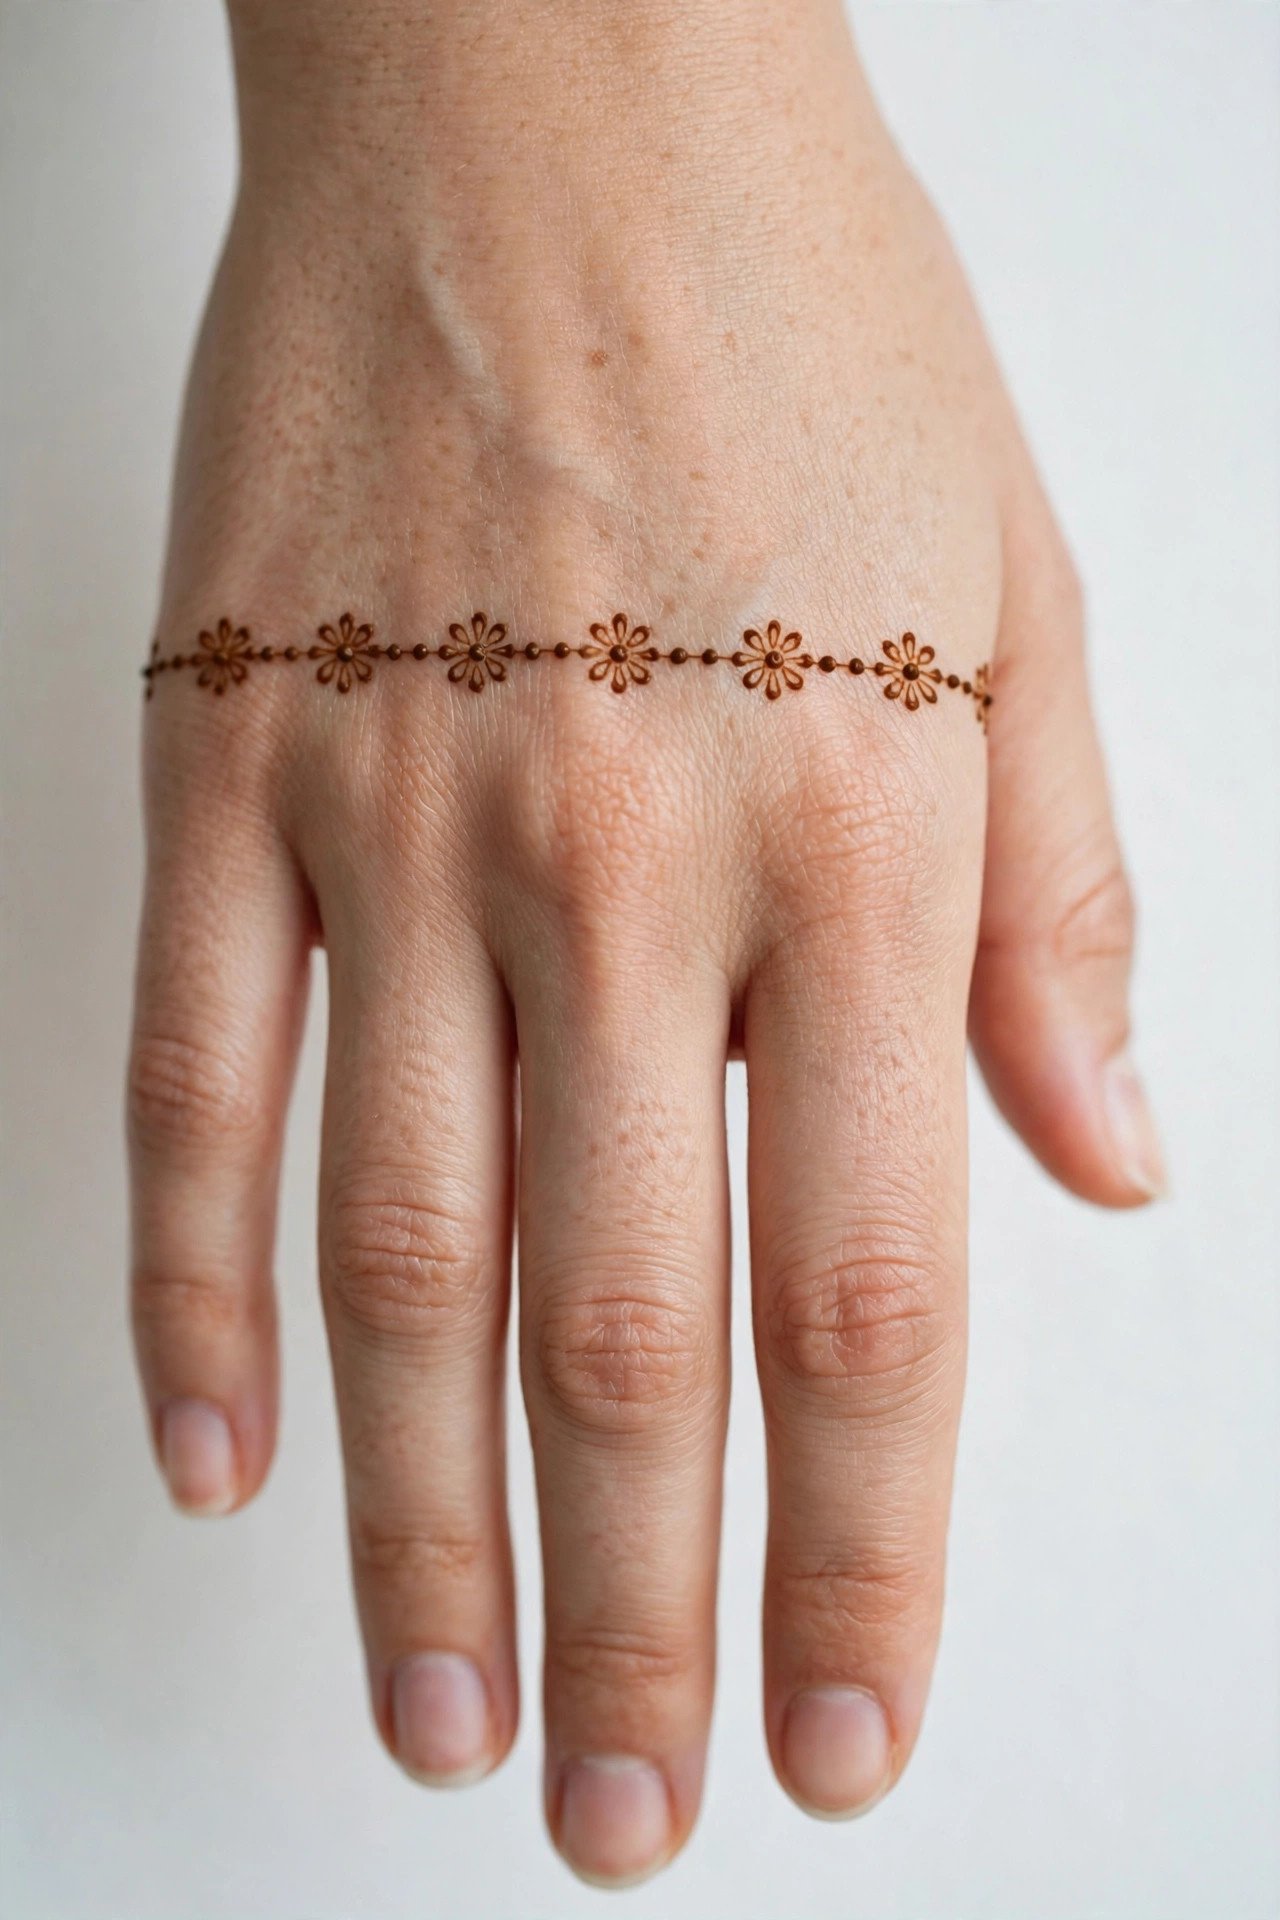
A straight border across the hand near the knuckles is one of the tidiest beginner designs, because a ruler-straight line is not required — a gentle curve works just as well. Alternate small dots with tiny petals along the line, and stop at the edges of the hand rather than wrapping around the sides. The whole border takes about six minutes and looks refined with a simple bracelet. It is also an excellent base: add finger caps later and you have a fuller look without starting over.
8. Tiny Leaf Chain
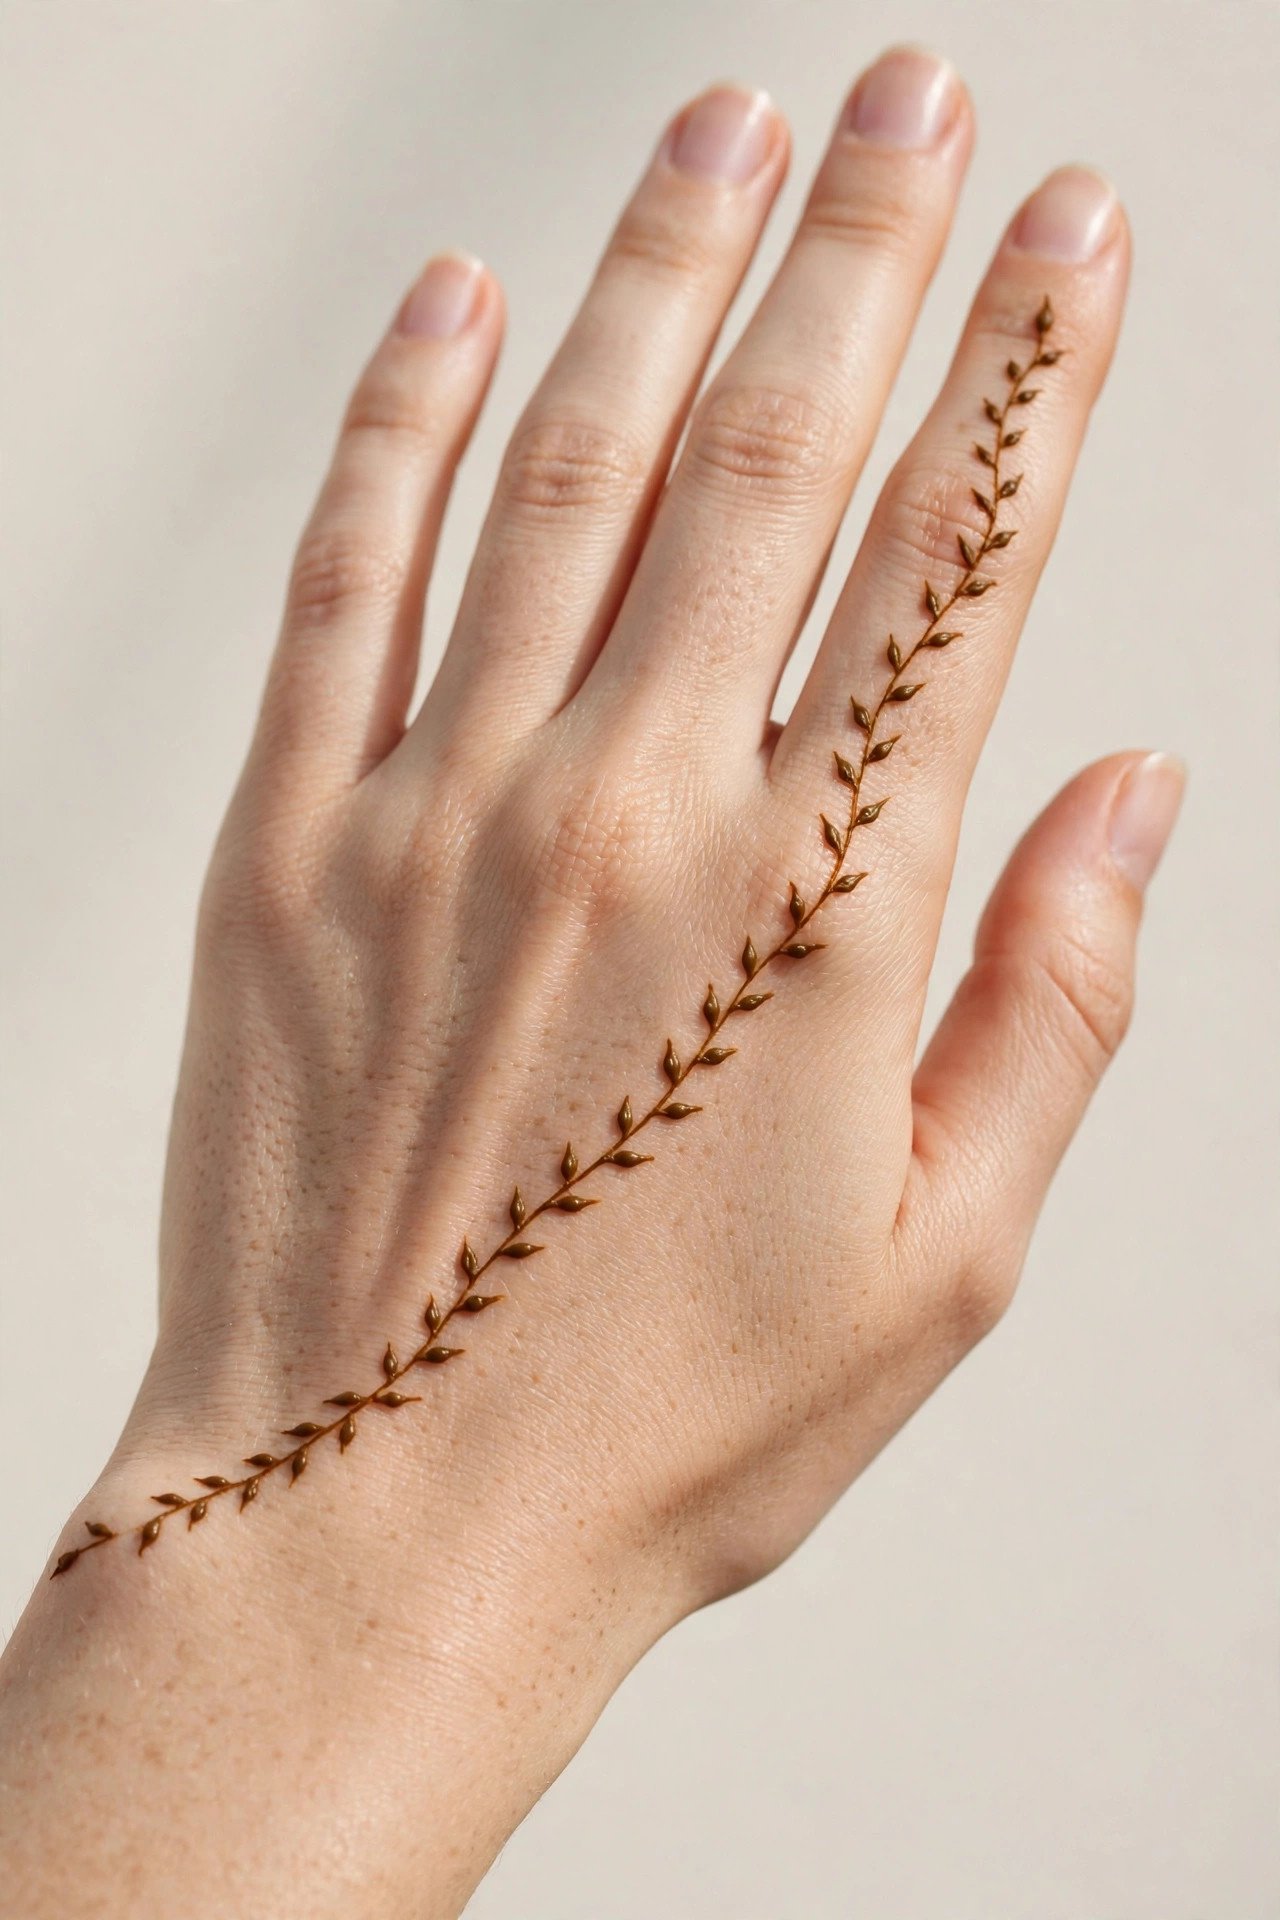
A chain of tiny leaves trailing diagonally from the wrist to the pinky finger feels light and modern, and it is wonderfully forgiving — leaves can point in slightly different directions and still look organic. Draw the curving stem first, then add one small leaf at a time, keeping them roughly the same size. This takes about eight minutes and leaves plenty of bare skin showing, which is exactly what makes it look elegant rather than busy. It suits a minimal outfit and delicate jewellery best.
9. Ring Finger Accent
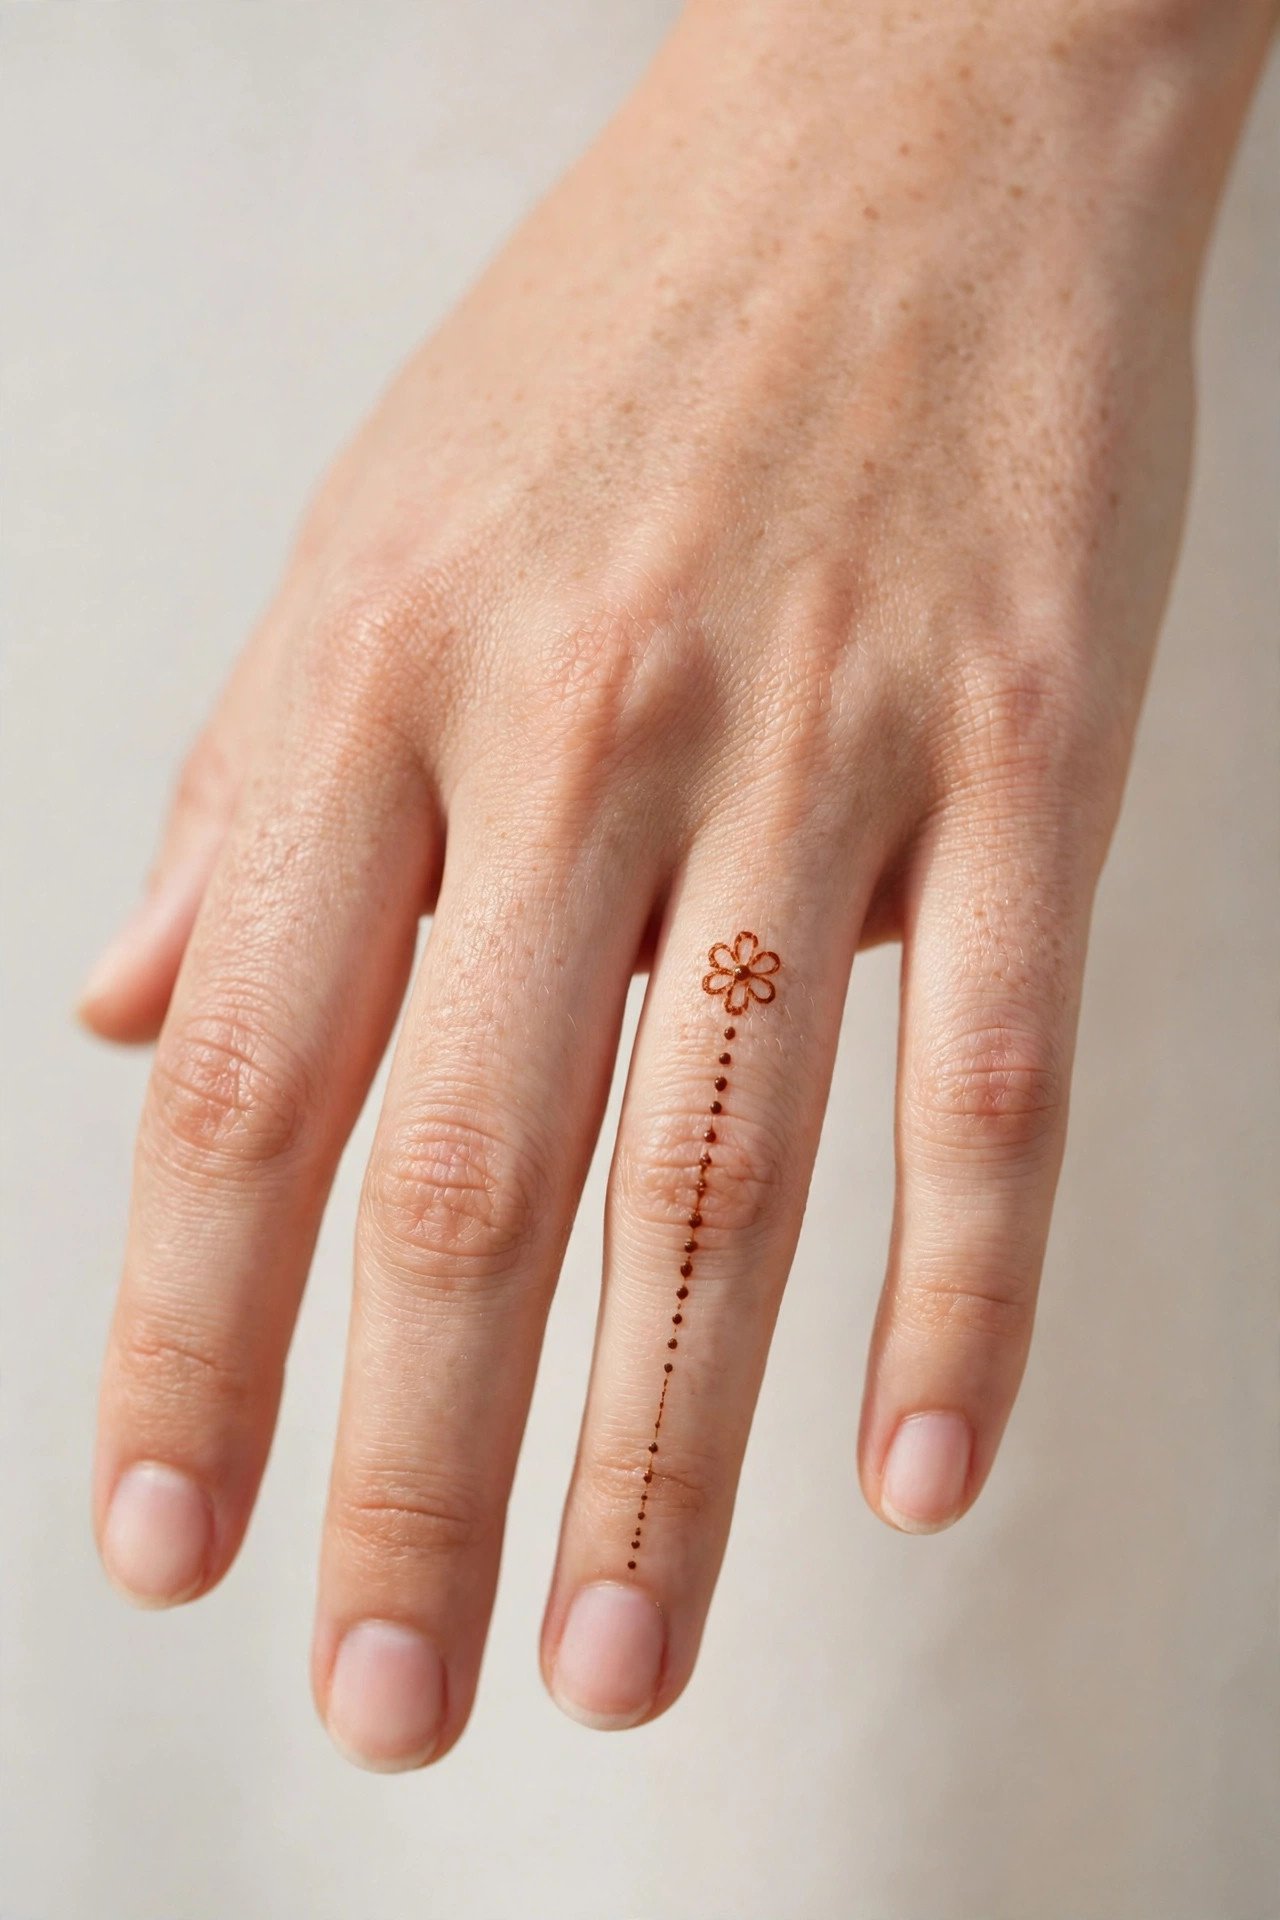
One small flower on the ring finger, with a thin dotted line running down the finger, is the smallest design here and one of the prettiest. It takes about five minutes, draws attention to a ring without hiding it, and is perfect for days when you want just a hint of mehndi. Because the area is so small, take your time on the flower itself — five even petals and a dot centre are all it needs. This is also a lovely option for a first attempt with a new cone.
10. Scalloped Wrist Cuff
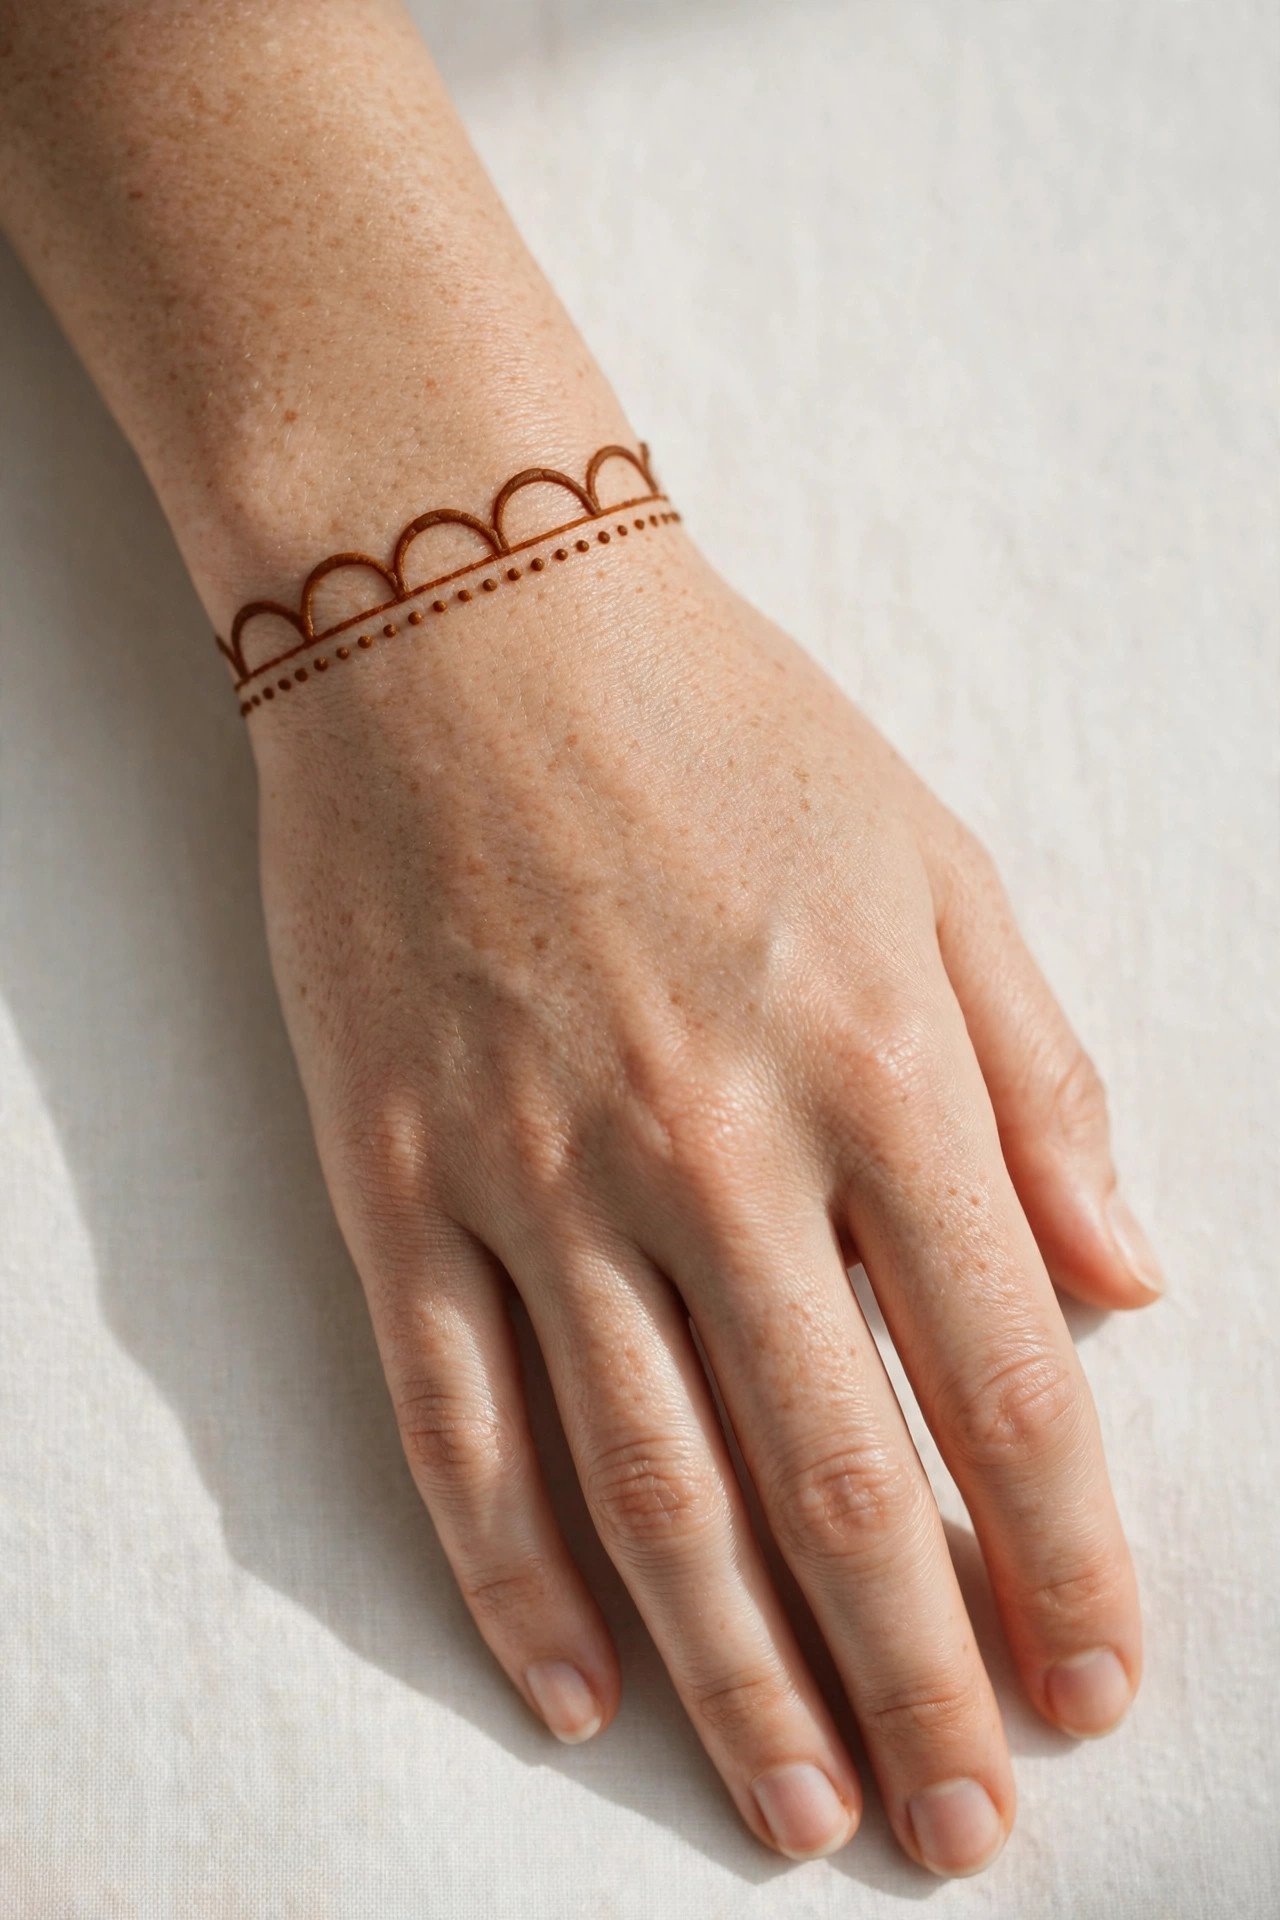
A scalloped cuff is a row of small arches circling the wrist, finished with a dot under each arch — it looks like a lace bracelet and takes about eight minutes. The trick is drawing the arches the same width, so start with light dots marking each arch position before you join them. The hand stays bare above the cuff, keeping the look clean and wearable every day. Pair it with a slim watch or a single bangle worn just above the cuff line.
11. Five-Petal Flower Trio
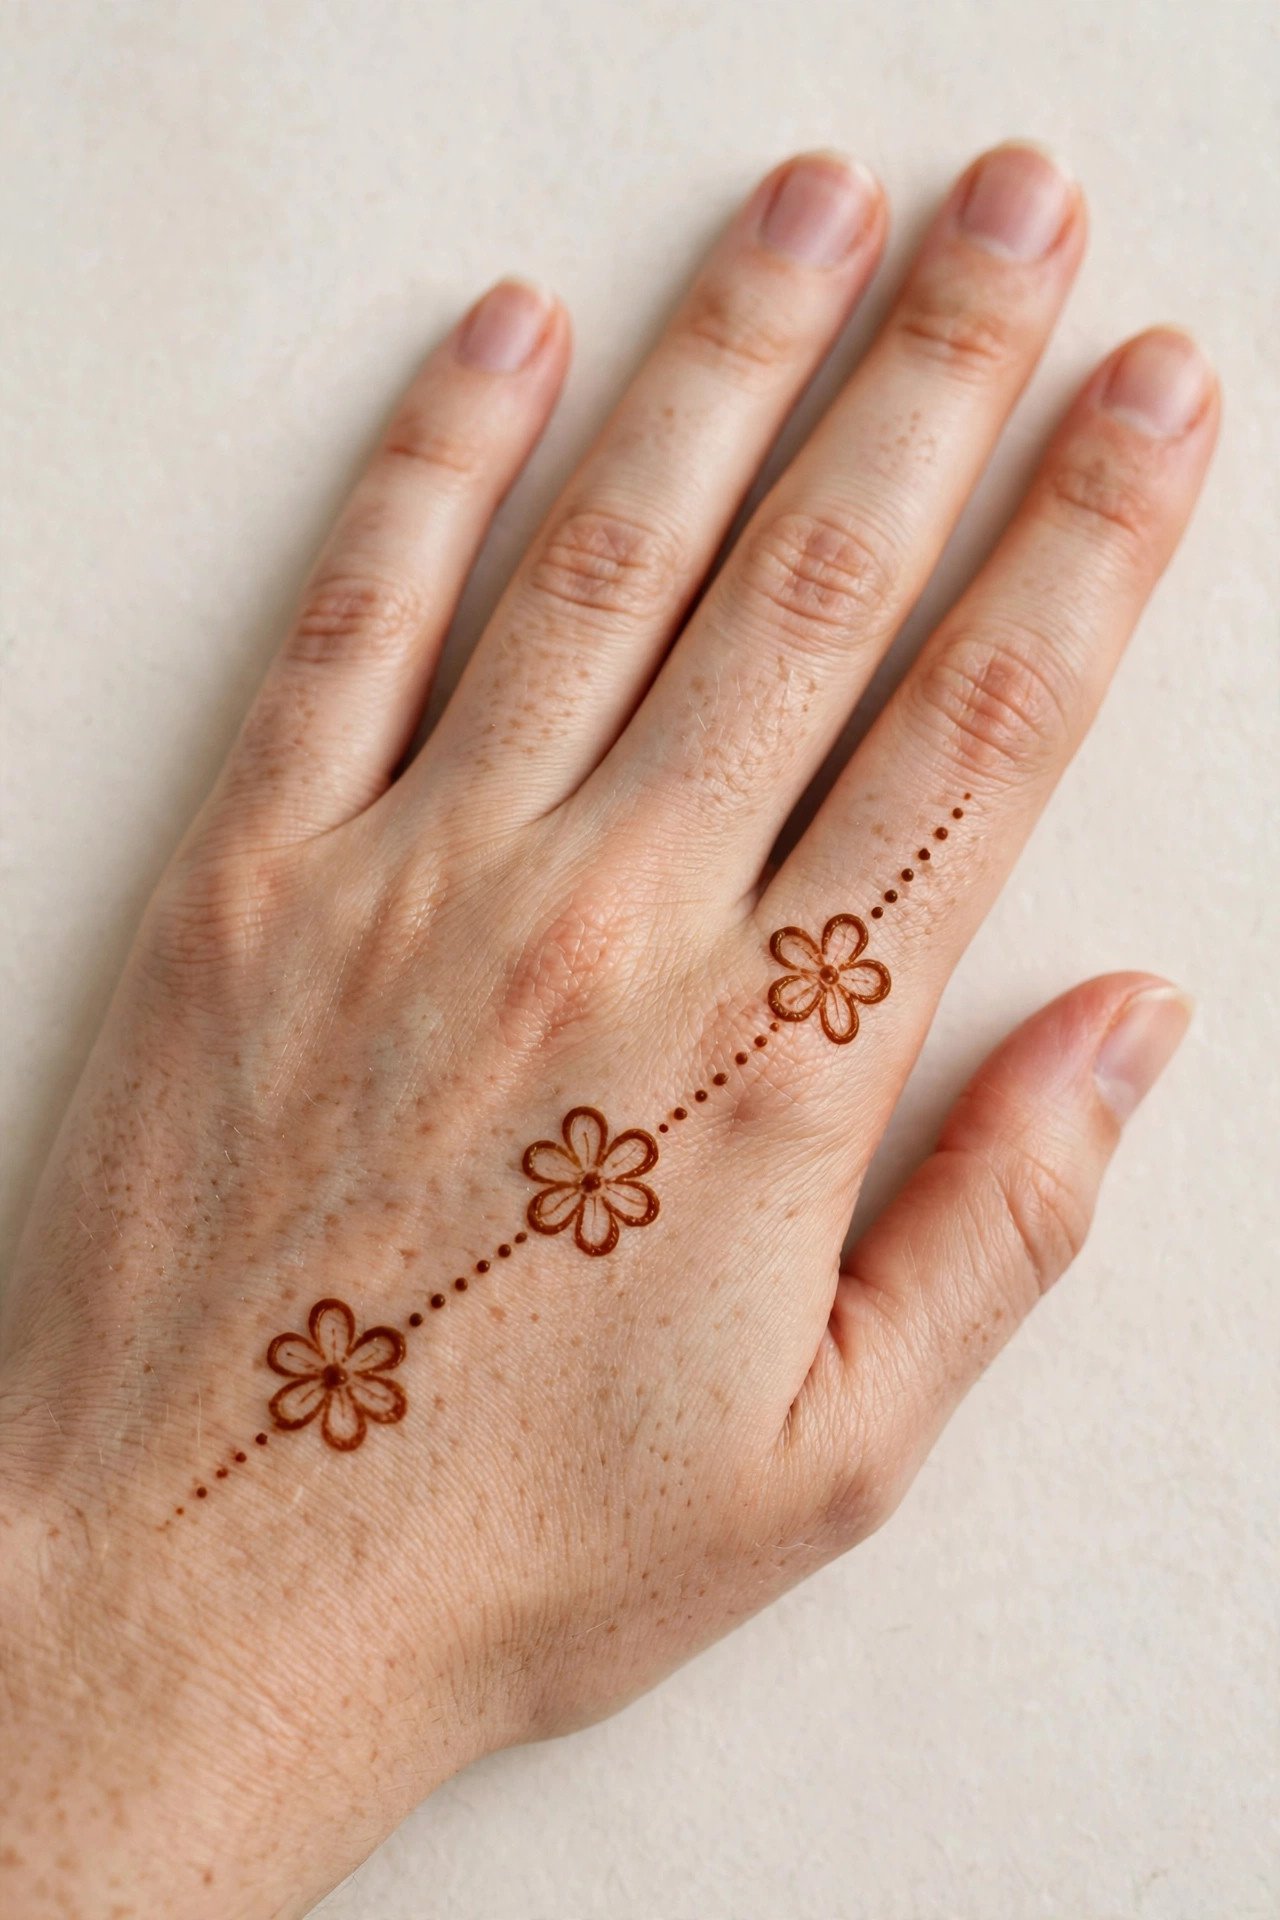
Three small five-petal flowers in a diagonal row, joined by a thin dotted line, give the hand a sense of movement without any complicated drawing. Each flower is the same simple shape you practised in idea two, so this is a natural next step once that one feels easy. Allow about ten minutes, and keep the flowers similar in size — the dotted line between them hides any small gap. This design looks lovely with a short sleeve and a single statement ring.
12. Dotted Starburst
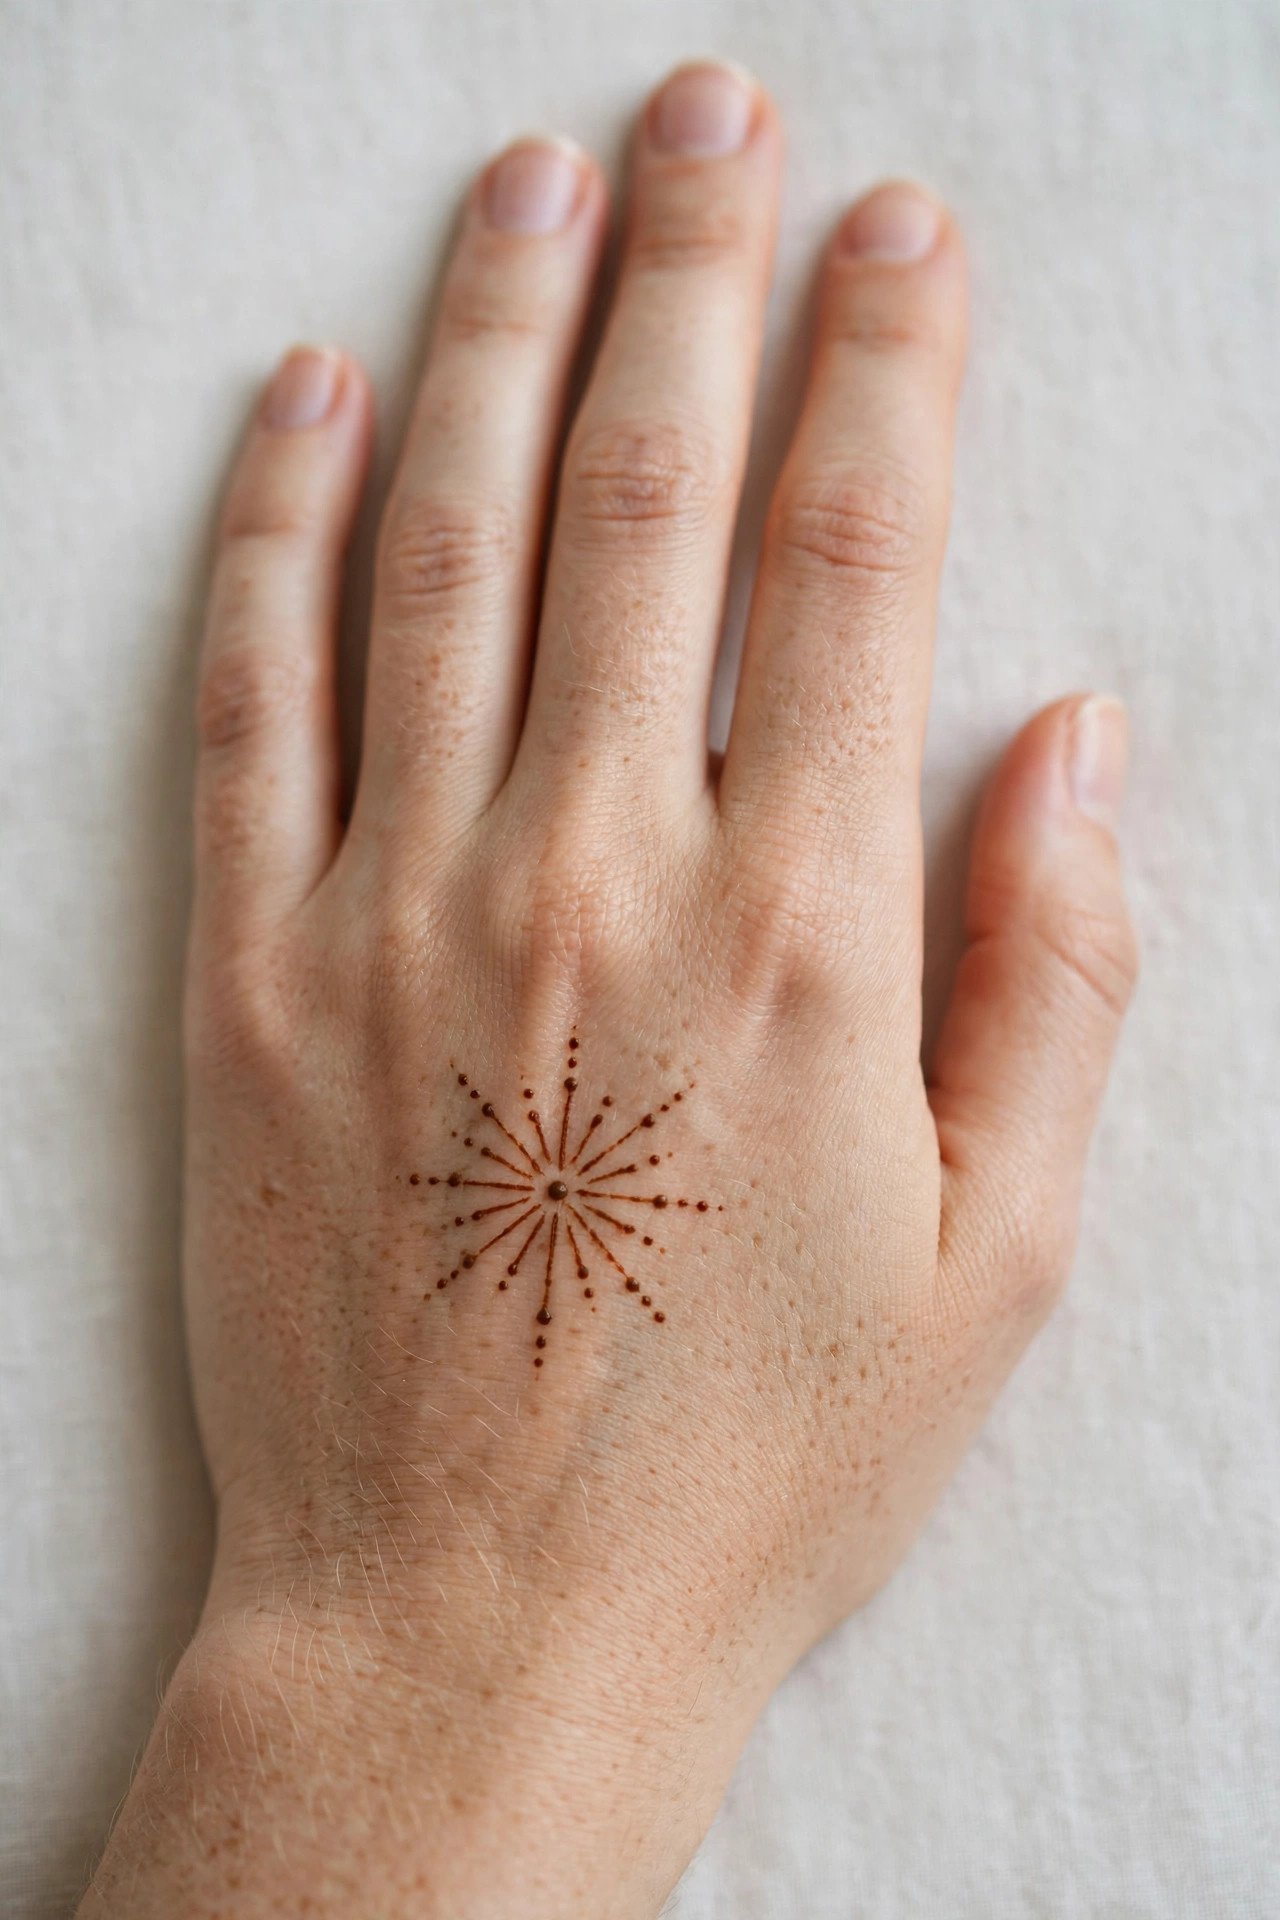
A starburst is a centre dot with short lines and dots radiating outward, and it is almost impossible to get wrong because radiating lines always look deliberate. Place it slightly off-centre on the back of the hand for a modern feel, and keep the rays short so the design stays neat. It takes about six minutes and works as a standalone motif or as a filler between other elements. For a party look, add fingertip caps to echo the dotted theme.
13. Simple Paisley Drop
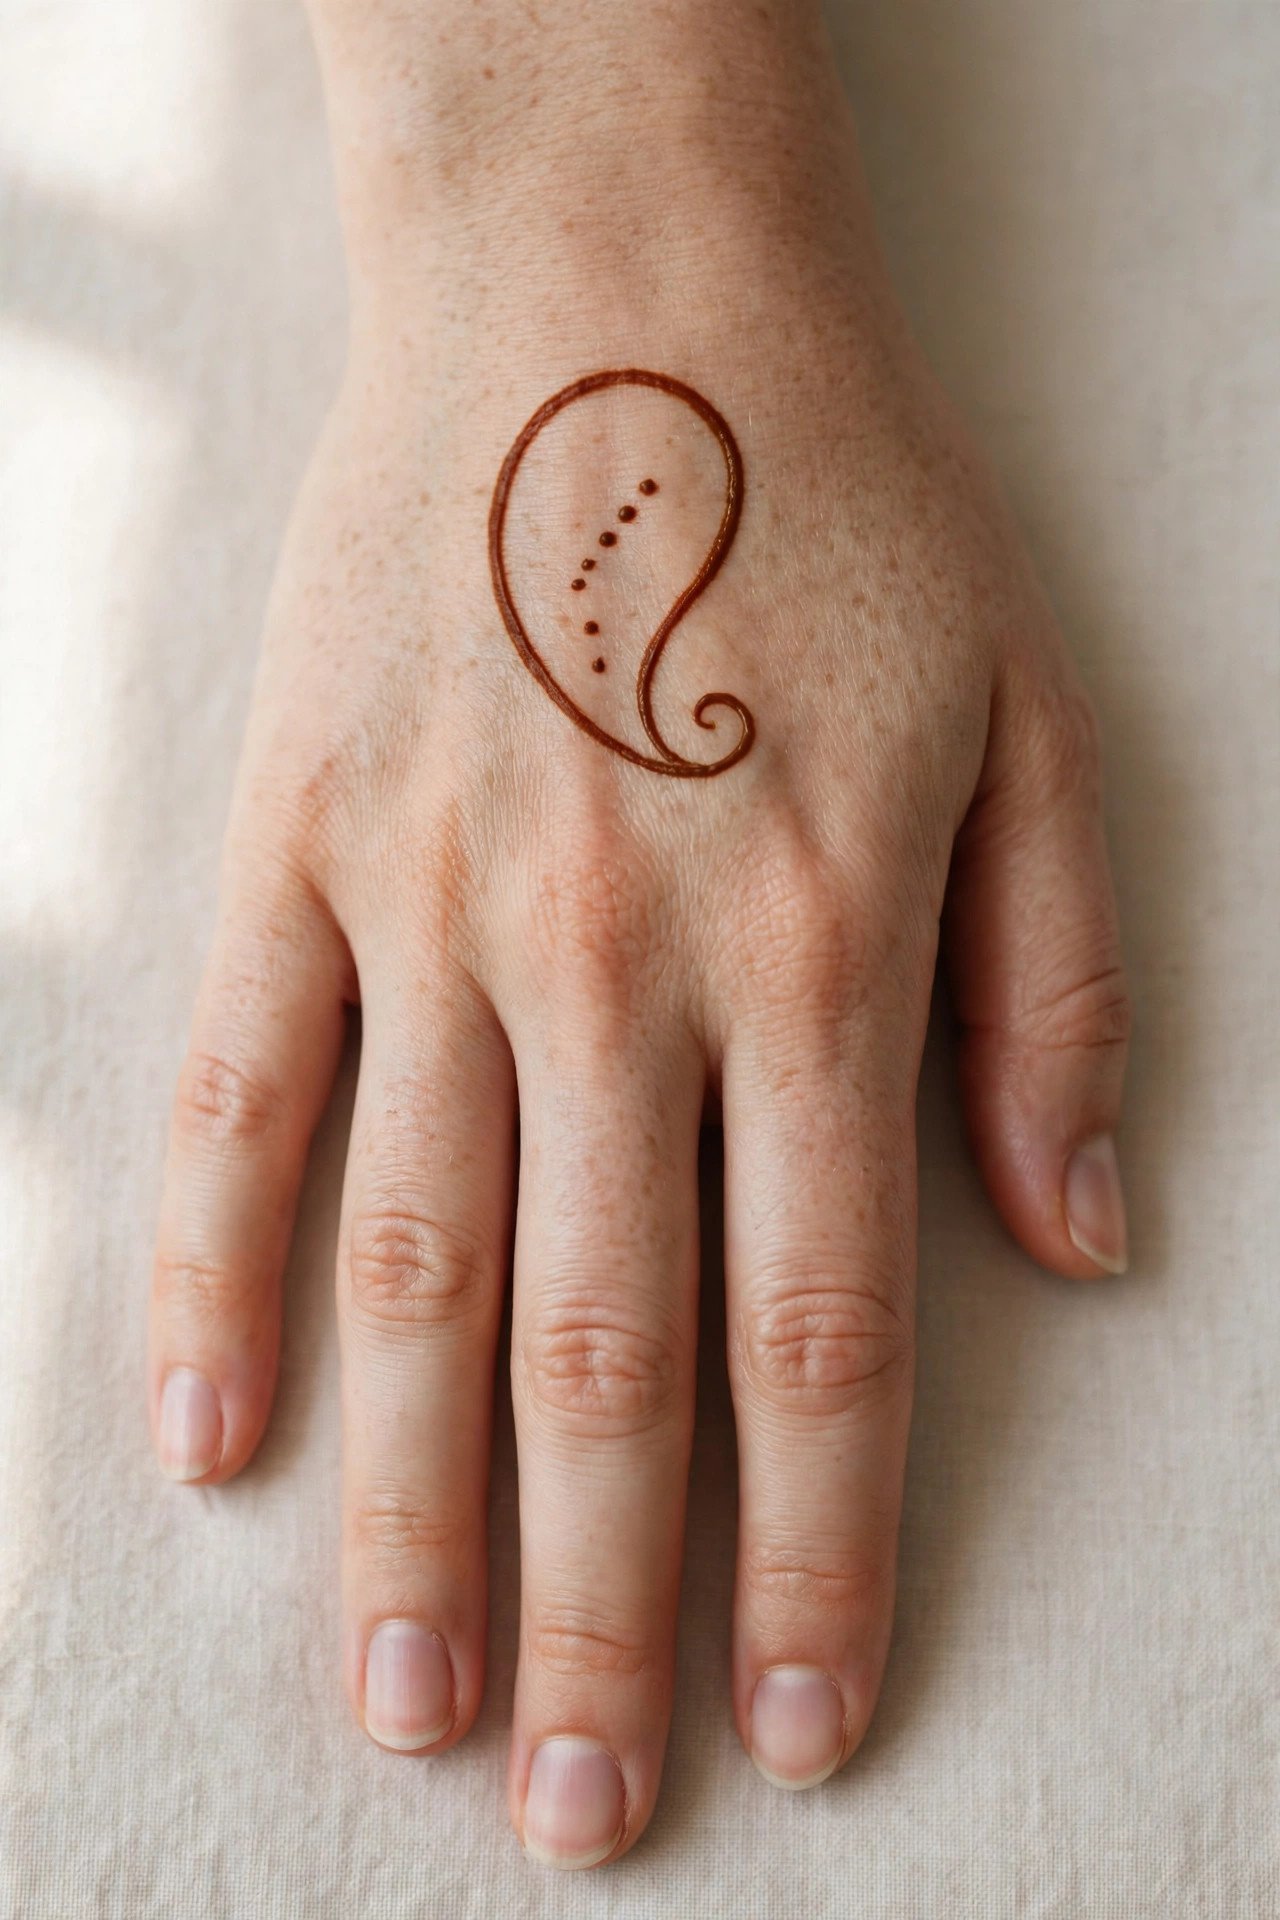
A single paisley drop — one curved teardrop outline with a few dots inside — is the most traditional-looking design in this list, and it is still very much a beginner piece. Draw the outline slowly in one smooth curve, then fill it with three or four dots rather than dense shading, which keeps it light and easy. This takes about nine minutes and looks beautiful on its own, centred on the hand. It pairs well with a plain outfit, since the paisley itself is the statement.
14. The 10-Minute Whole Hand
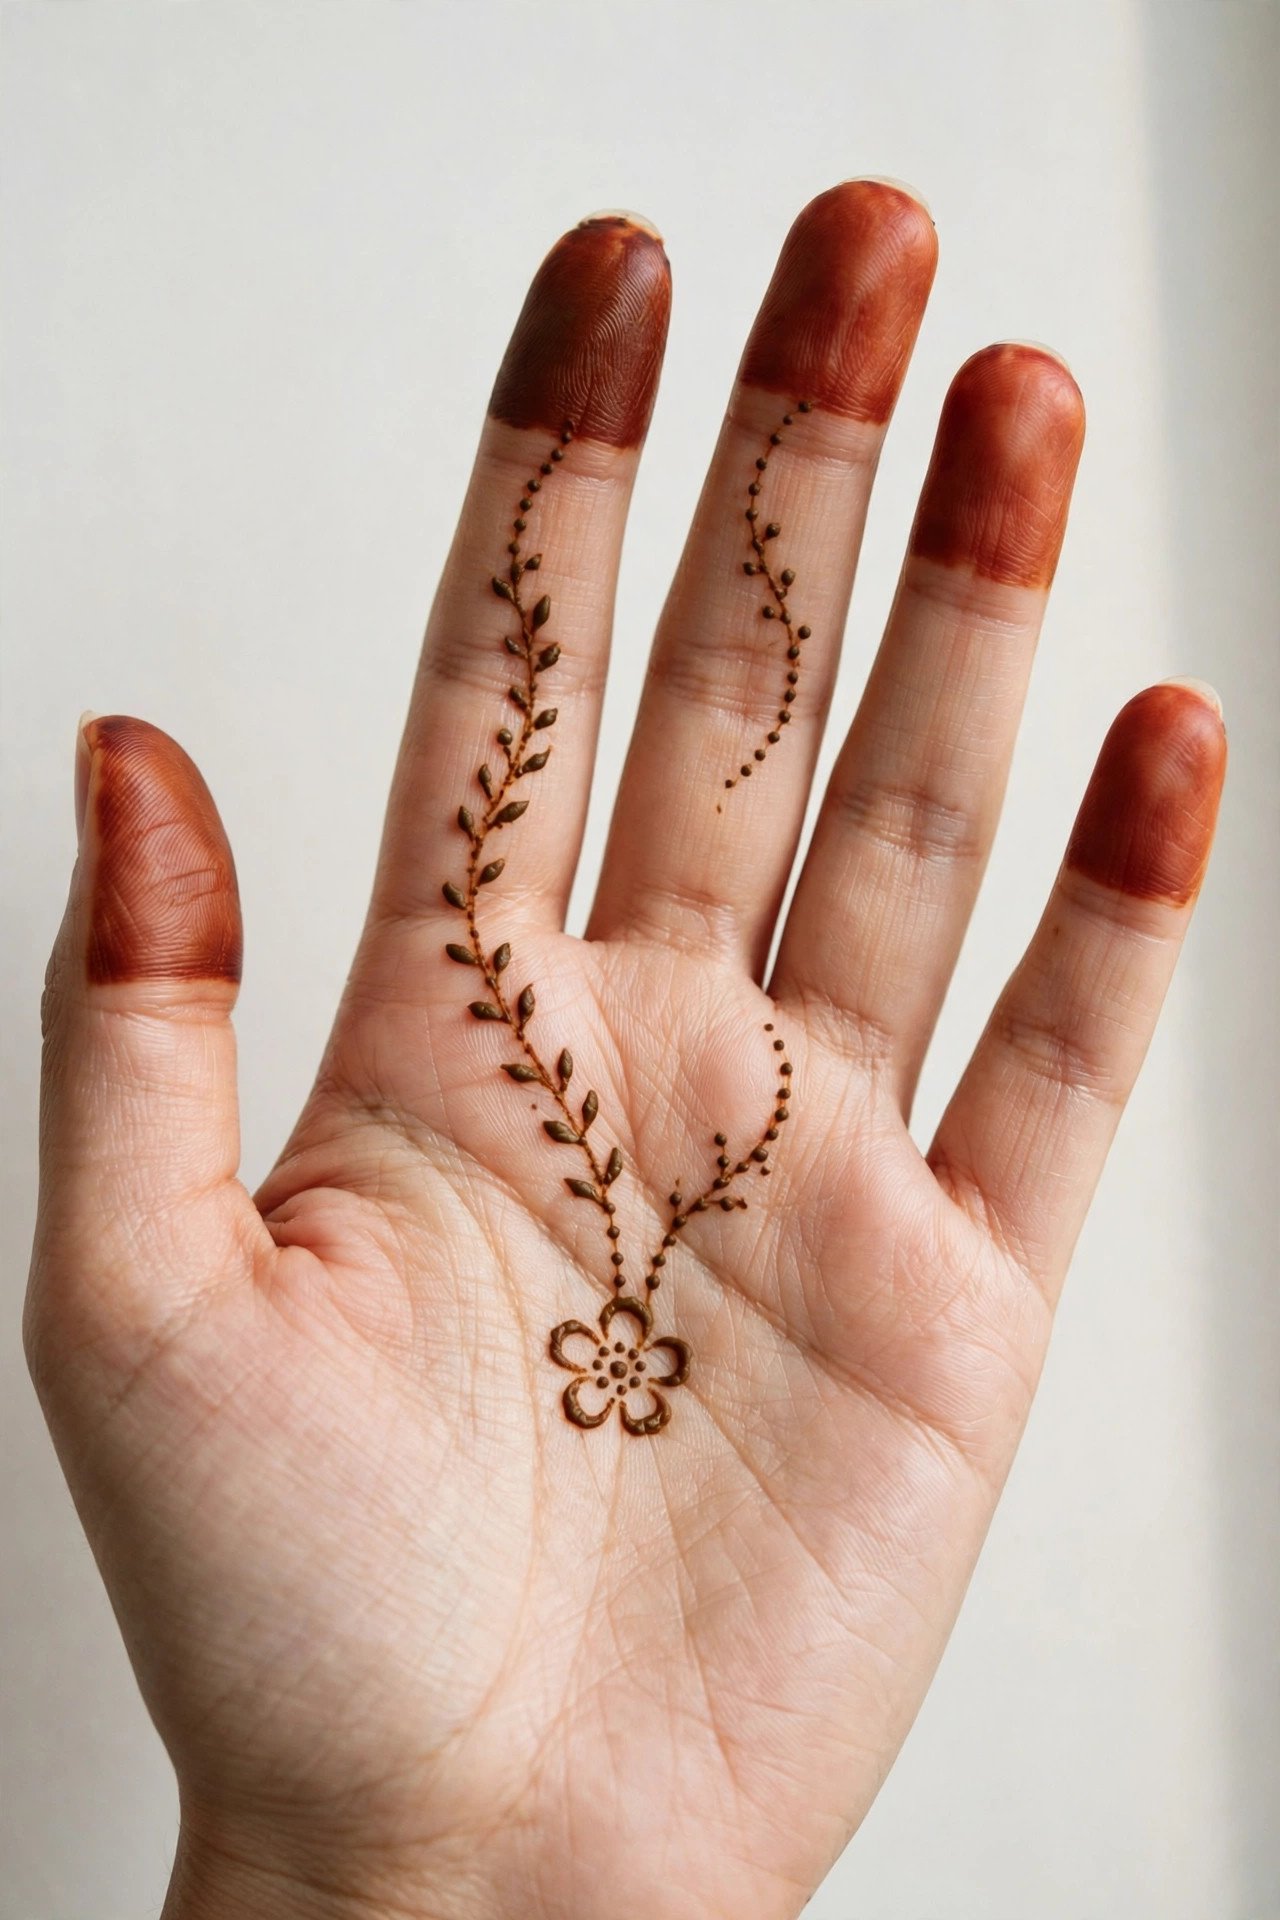
When you are ready to combine everything you have practised, this is the design: a small centre flower, dotted vines reaching toward two fingers, and fingertip caps to finish. Each element is one you already know, so the whole hand still takes only about ten minutes, and the airy spacing keeps it from looking crowded. This is the look to choose for a celebration when you want a complete hand but not a bridal-level commitment. Finish with a light lemon-sugar seal once the paste dries, and keep the design on as long as you can for the deepest stain.
Before you start, a few tips that make every design above look better: use a fresh, good-quality cone and practise each motif once on paper first, so your hand already knows the movement. Keep the paste on for at least four to six hours, avoid water while it sets, and dab — never rub — a little lemon juice and sugar over the dried paste to help the colour deepen. The stain darkens over the next day, so judge the final result after 24 hours, not straight after removing the paste. Most of all, embrace the small wobbles: on a beginner hand, they are what make the design look hand-drawn and charming, not machine-perfect.